
=VG= The_Polish_Guy
-
Posts
668 -
Joined
-
Last visited


About =VG= The_Polish_Guy

- Birthday 09/15/2002
Recent Profile Visitors
.thumb.gif.3d961543fe012e56103a42a71f147b4f.gif)


=VG= The_Polish_Guy's Achievements
")
Sergeant Major (8/18)
1.3k
Reputation
-
An ambush is a short and rapid attack on an enemy force that is moving or at a short stop. The goal of organizing it can be: capturing a prisoner, capturing documents, capturing new enemy weaponry or equipment, inflicting losses and creating a decline in enemy morale. Place of an ambush is chosen to provide the most cover and concealment possible and a concealed retreat route. The tactic I’ll describe below is more akin to a special forces ambush than one carried out by regular infantry units. The reason is simple. In Arma or other mil-sims we rarely have the opportunity to conduct a platoon ambush. Planning Planning an ambush will mean planning what, when and where will be ambushed and by who with what. The most important is to pick a good place. It should allow for the ambushing force to have enough concealment to not alert the enemy before they walk into the kill zone and enough concealment to retreat safely after the ambush. For that reason the element’s leader should look for forested or built up areas on the route. Terrain features allowing for better cover and field of view are also welcome. Formation An ambush will consist of three main elements: security – responsible for securing the flanks and spotting the enemy force, weapons – responsible for creating a base of fire, assault – responsible for assaulting the kill zone. Security elements can be constructed in two ways. They will either contain a lot of firepower and be equipped with SAWs and GLs or will focus on accurate fires on range and will use a designated marksman. A lot of the time in Arma we can't spare the heavy guns from the kill zone and the marksmen will not be as effective at the shorter engagement ranges of an ambush. The base of fire element will contain any MGs we can use and possibly AT specialists if we are ambushing a motorized enemy. Additionally the element leader might consider letting the weapons section control any explosives used for the ambush by attaching an explosives specialist to it. The assault element will help create interlocking field of fire in the first stage of the ambush and then will move to clear out the kill zone and the area past it. Additional elements can be assigned. A collections element may be assigned with clearing the kill zone by dragging bodies off the route and searching for documents/equipment. And a medic or a medical section may be created or assigned to a CCP to treat wounded. In Arma while there usually is a medic, there usually isn’t enough people to create a collection section. So the task falls to the assault element. Element leader is responsible for selecting positions for all the sections unless they decide to delegate that responsibility to section leaders. They set the location of the kill zone (an area where the enemy force will be contained and destroyed) and coordinate the work of the element during the ambush. Execution Positions are taken by the sections. First the security section. Then the weapons section and last by the assault element. The ambush starts by the security element spotting the main enemy force. It is crucial to not attack a scout section or vehicle instead of the main force. The security element relays that and any information about the enemy: quantity of enemy, quantity and type of vehicles, any special equipment, anything else that might influence an ambush. Until the ambush initiates it is very important to stay hidden. When the enemy element gets is in the kill zone, the ambush initiates. The ambush is always initiated by the most casualty producing weapon. The best systems to start an ambush with are, in that order: explosives (IEDs, claymores, mines etc.), AT launchers if the element is mounted, machineguns Once the designated weapon fires, the ambush begins and both the weapons and assault elements open fire. There is no set amount of time for this part of the ambush. The goal of it is to suppress the enemy in place and inflict as many losses as possible. Once the element leader is happy with the result they will signal to cease fire and assault. Some phrases to expect might be: “Cease fire”, “Lift fire”, “Walk through”. Additionally if the kill zone is divided up into fire zones there might be a call to “Shift fire”. When a command is given and the fire into the kill zone stops, the assault element walks through and clears the kill zone and a patch of land around 35 meters past the road/path (app. hand grenade range). Once the walkthrough is complete and the objective completed all of the sections retreat to the predesignated RP. The retreat order is opposite to the order of taking positions. First elements retreat the last. So the assault element leaves followed by the weapons section and the rear is brought up by the security element. Once at the RP the ambush is complete and the element can continue to the next task. Ambush shapes There are two main ambush shapes. Line and L-shaped. They are pretty self-explanatory. In a line ambush both the weapons and assault elements are set up along the route in a somewhat straight line. While an L-shape has the weapons section or part of it set up on a road bend, a barricade or something similar looking at the front of the enemy force. The shape should be chosen accordingly to the terrain but it is important to remember that we are still trying to achieve interlocking fields of fire when possible.
-
Project Reality - Future Event - POLL
=VG= The_Polish_Guy replied to =VG= Sphee's topic in PR Cooperative
See @=VG= Sphee it wasn't just me and lonestar wanting to mess with players. It's actually a good idea. -
CAS Fire Mission with CAS 9-line
=VG= The_Polish_Guy commented on =VG= The_Polish_Guy's blog entry in Tactics & Techniques for Arma
Didn't know if I should put it in the post so I'll leave it here. A great video showing what a CAS missions looks like. Won't replace actually doing it yourself but it helps to understand it better. -
CAS Fire Mission with CAS 9-line
=VG= The_Polish_Guy posted a blog entry in Tactics & Techniques for Arma
CAS 9-line 9-line is a structured way of relaying the characteristics of the fire mission to the aircraft. When both the person calling in the airstrikes and the pilot know the procedure well, it makes sure the right targets are engaged at the right time and in the proper way. CAS 9-line 1. Initial Point / Battle Position [IP/BP] Point from which the attack should begin 2. Heading Offset Heading (in degrees) from IP to target Offset from the heading (±degrees) 3. Distance Distance from IP to target (in NM / Km in Arma) 4. Target elevation (in feet ASL / meters ASL in Arma) 5. Target description Target and its surroundings 6. Target location GRID or visual 7. Markings Method of marking the target (laser, IR sparkle, smoke etc.) 8. Location of friendlies Markings Distance and direction (degrees / cardinal direction) from target 9. Egress (degrees / cardinal direction) or: Remain overhead Back to IP/HP Pilot Discretion Left/Right Pull or a combination Remarks and Restrictions: Additional readbacks Final attack heading (degrees / cardinal direction) Laser / pointer target line Surface to air threats, type, location, countermeasures Airspace coordination areas Danger close Abort restrictions Desired number of ordnance Additional remarks (weather, terrain, hazards) Time on Target Lines From the Overhead If the JTAC wants to leave some part of the planning to the aircraft, they will use a From the Overhead call. It is most often used with lines 1-3 to allow the pilot to approach the target however they please. In that situation the JTAC would call: Lines 1 through 3 – From the Overhead. At the beginning of the 9-line. If the JTAC still wants to control some aspect of the attack they can restrict the final attack heading in remarks after calling 1-3 from the overhead. That way the pilot can line up the attack how they deem best, but are still restricted to one attack heading. Readback Next step of the procedure is the aircraft doublechecking if the information was understood properly. The aircraft will repeat lines 4-6 and any restrictions to the JTAC. Additionally the JTAC can request additional lines or remarks to be read back during their 9-line call. If the readback is correct the JTAC will respond with: Good readback. Talk-on When using BOT, the aircraft has to see the target to engage it. That’s why after a good readback the JTAC will ask the aircraft to acquire the target visually. If the aircraft has a targeting pod the JTAC will call this by saying: Push sensor to lines 4-6, describe what you see. Next the aircraft will describe what they see in a way allowing the JTAC to verify they are indeed looking at the same thing. If the JTAC is not sure, they will keep asking questions until they are. To avoid too many questions and speed up the process the aircraft should start by describing: direction from a terrain feature, distance from a terrain feature, the way the target is facing, etc.. Anything from color to the number of wheels or floors can be used by the JTAC to identify the target. If the pilot cannot acquire the target, it’s the JTAC task to guide him onto it by describing where to look for it. This can be achieved by describing its location in regard to a terrain feature. Some of the calls used at this point are: Contact – aircraft has spotted something (unknown if hostile) Capture – an enemy target confirmed by JTAC Tally – aircraft has spotted enemy targets (eyes on) No Joy – can’t spot the target Visual – aircraft sees friendly position Blind – aircraft cannot see friendly position After a positive verification of the target the JTAC will call: That is your target or That is your primary target. This is when a Type 2 control attack run starts. Roll-In This is the part of the procedure that sets up the aircraft for the final attack run. It will go something like this: (Pilot) Pushing [on the way to the IP] (JTAC) Continue [allowing the aircraft to continue lining up for the attack] (JTAC) Laser On (if lasing) [the moment laser is turned on if it’s being used] (Pilot) Tally laser (if lasing) [pilot sees laser, munition locks the laser] (Pilot) In [Pilot starts the final attack] (JTAC) Cleared Hot [JTAC clears aircraft to release munitions] And then the JTAC listens to explosions. These are the last moments to call of the attack. The attacking aircraft can only fire after being Cleared Hot. After a Cleared Hot call the pilot will probably call one of the following: Pickle – release of unguided bomb/s Paveway – release of laser-guided bomb/s Rifle – launch of air-to-ground missile/s Guns – employment of the onboard gun/s Rockets – launch of unguided rocket/s BDA There is not need to overcomplicate Battle Damage Assessment. If the mission was successful, you call Mission Successful if not, the opposite. If the mission wasn’t successful and you want the aircraft to reengage, you simply transmit the gameplan, 9-line and remarks again. If they haven’t changed, you transmit the gameplan with a message: (Same 9 line, Same remarks). If you want to change only part of your 9-line or gameplan, you can get creating with editing only certain lines. Remember to repeat the talk on if doing BOT and changing lines 4-6. Example of a CAS mission (simplified for Arma): Callsigns: HQ – Overlord F-18 – Hornet 5-2 JTAC – Voodoo 4-1 CAS request Overlord come in for Voodoo 4-1 This is Overlord This is Voodoo 4-1 I need CAS support in my AO, do you have anything for us? Roger that, sending 2 F-18s your way Voodoo 4-1 copies, tasking on frequency 5 5, push HP Olymp, GRID 074 break 545 Tasking on 5 5, push HP Olymp, GRID 074 break 545 Roger, Voodoo 4-1 out Check-In Voodoo 4-1 this is Hornet 5-2, radio check over Hornet 5-2, Voodoo 4-1, I hear you Lima Charlie Voodoo 5-2 this is Hornet 5-2, 2 times F 18, at 074 break 545, I have GBU12, AGM-65 and cannon, time on station is 5 mikes, available for tasking what do you have for us? Hornet 5-2 this is Voodoo 4-1, no known AA threats in the AO, no artillery activity, friendly UAV on GRID 065 break 533 2000 meters, no other aircraft in the AO, advise when ready for gameplan. Gameplan, 9-Line Hornet 5-2 ready Type 2 control, bombs on target, 1 times AGM, advise when ready for 9-line Hornet ready 1 through 3 from the overhead, 60, technical vehicle, GRID 066 break 544, IR sparkle, east 500, remain overhead, ready for remarks? Hornet ready Remarks, final attack heading west east, readback all lines, waiting for readback Voodoo 4-1, Hornet 5-2, 1 through 3 from the overhead, 60, technical vehicle, GRID 066 break 544, IR sparkle, east 500, remain overhead, final attack heading west east Hornet 5-2, good readback, push sensors lines 4 6, report what you see Talk-On, Engagement Voodoo 4-1, Hornet 5-2, contact one times technical vehicle marked with IR sparkle Hornet 5-2, Voodoo 4-1 confirm orientation of the vehicle Voodoo 4-1, the vehicle is facing north Hornet 5-2, this is your primary target Capture, Hornet 5-2 pushing IP Hornet continue, report In Hornet 5-2 is, In, hot, heading east Hornet, CLEARED HOT Rifle Hornet 5-2 this is Voodoo 4-1, mission success, push HP Olymp, thanks for the help, Voodoo 5-2 out. -
Back To Roots - TEST RUN - 24/05/2026 (ENDED)
=VG= The_Polish_Guy replied to =VG= Sphee's topic in PR Cooperative
It's used for talking. No need to thank me. -
Project Reality - BF2 Event - POLL (ENDED)
=VG= The_Polish_Guy replied to =VG= Sphee's topic in PR Cooperative
Not following / responding to your commander? resign SL I'm so good at resolving other's problems -
Project Reality - BF2 Event - POLL (ENDED)
=VG= The_Polish_Guy replied to =VG= Sphee's topic in PR Cooperative
Event with commander actually being able to command the squads under him. Yes I want more mil-sim in a mil-sim game. Also 20 one-man apaches and no manpads please -
[Project Reality Event] Rinse, recycle, repeat (ENDED)
=VG= The_Polish_Guy replied to =VG= Sphee's topic in PR Cooperative

-
I'll take whatever role as well, I'm fine with being the lacking leader
-
[ArmA Event] Operation Desert Storm
=VG= The_Polish_Guy replied to =VG= The_Polish_Guy's topic in Arma III
Thanks for coming!
-
[ArmA Event] Operation Desert Storm
=VG= The_Polish_Guy replied to =VG= The_Polish_Guy's topic in Arma III
@=VG= Connor @=VG= XOR you fine with that? Asking since you did take it first and X0R guessed the quote so I owe you that much. Personally I'd prefer the tank has 3 crew rather than two. But then again without enough infantry you will not complete the mission. -
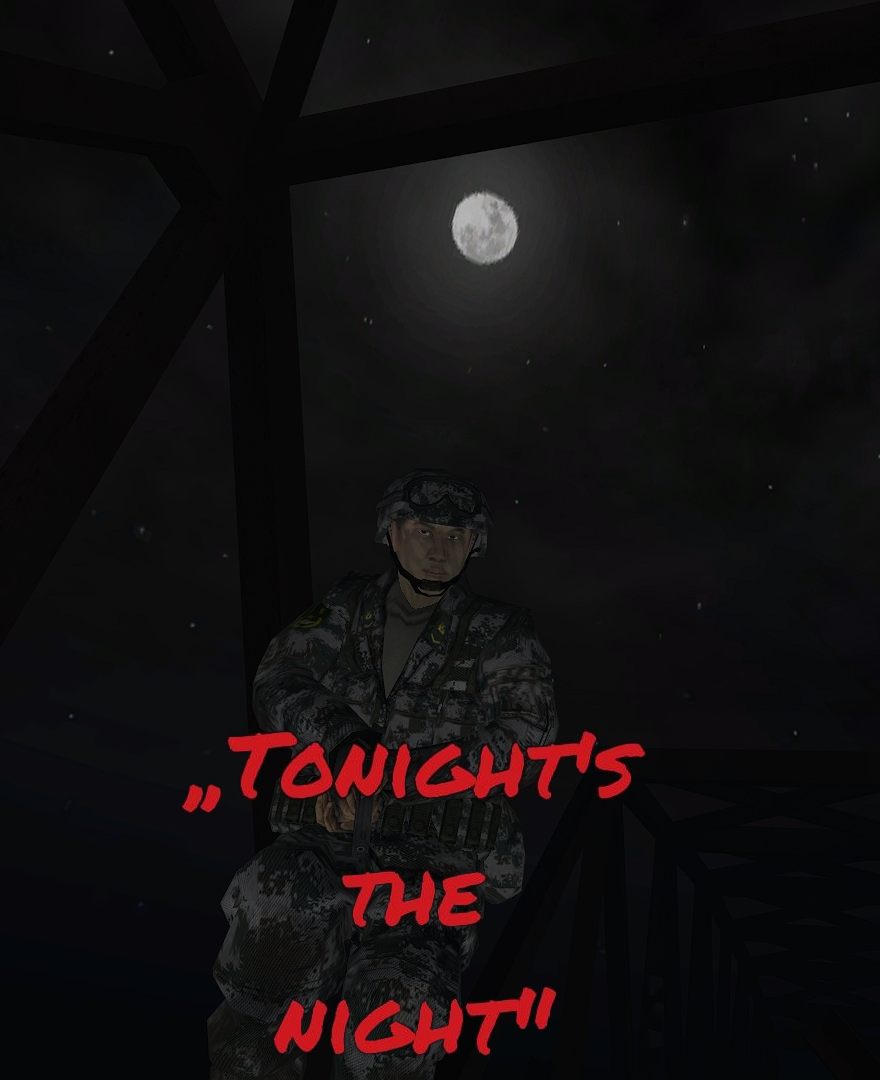
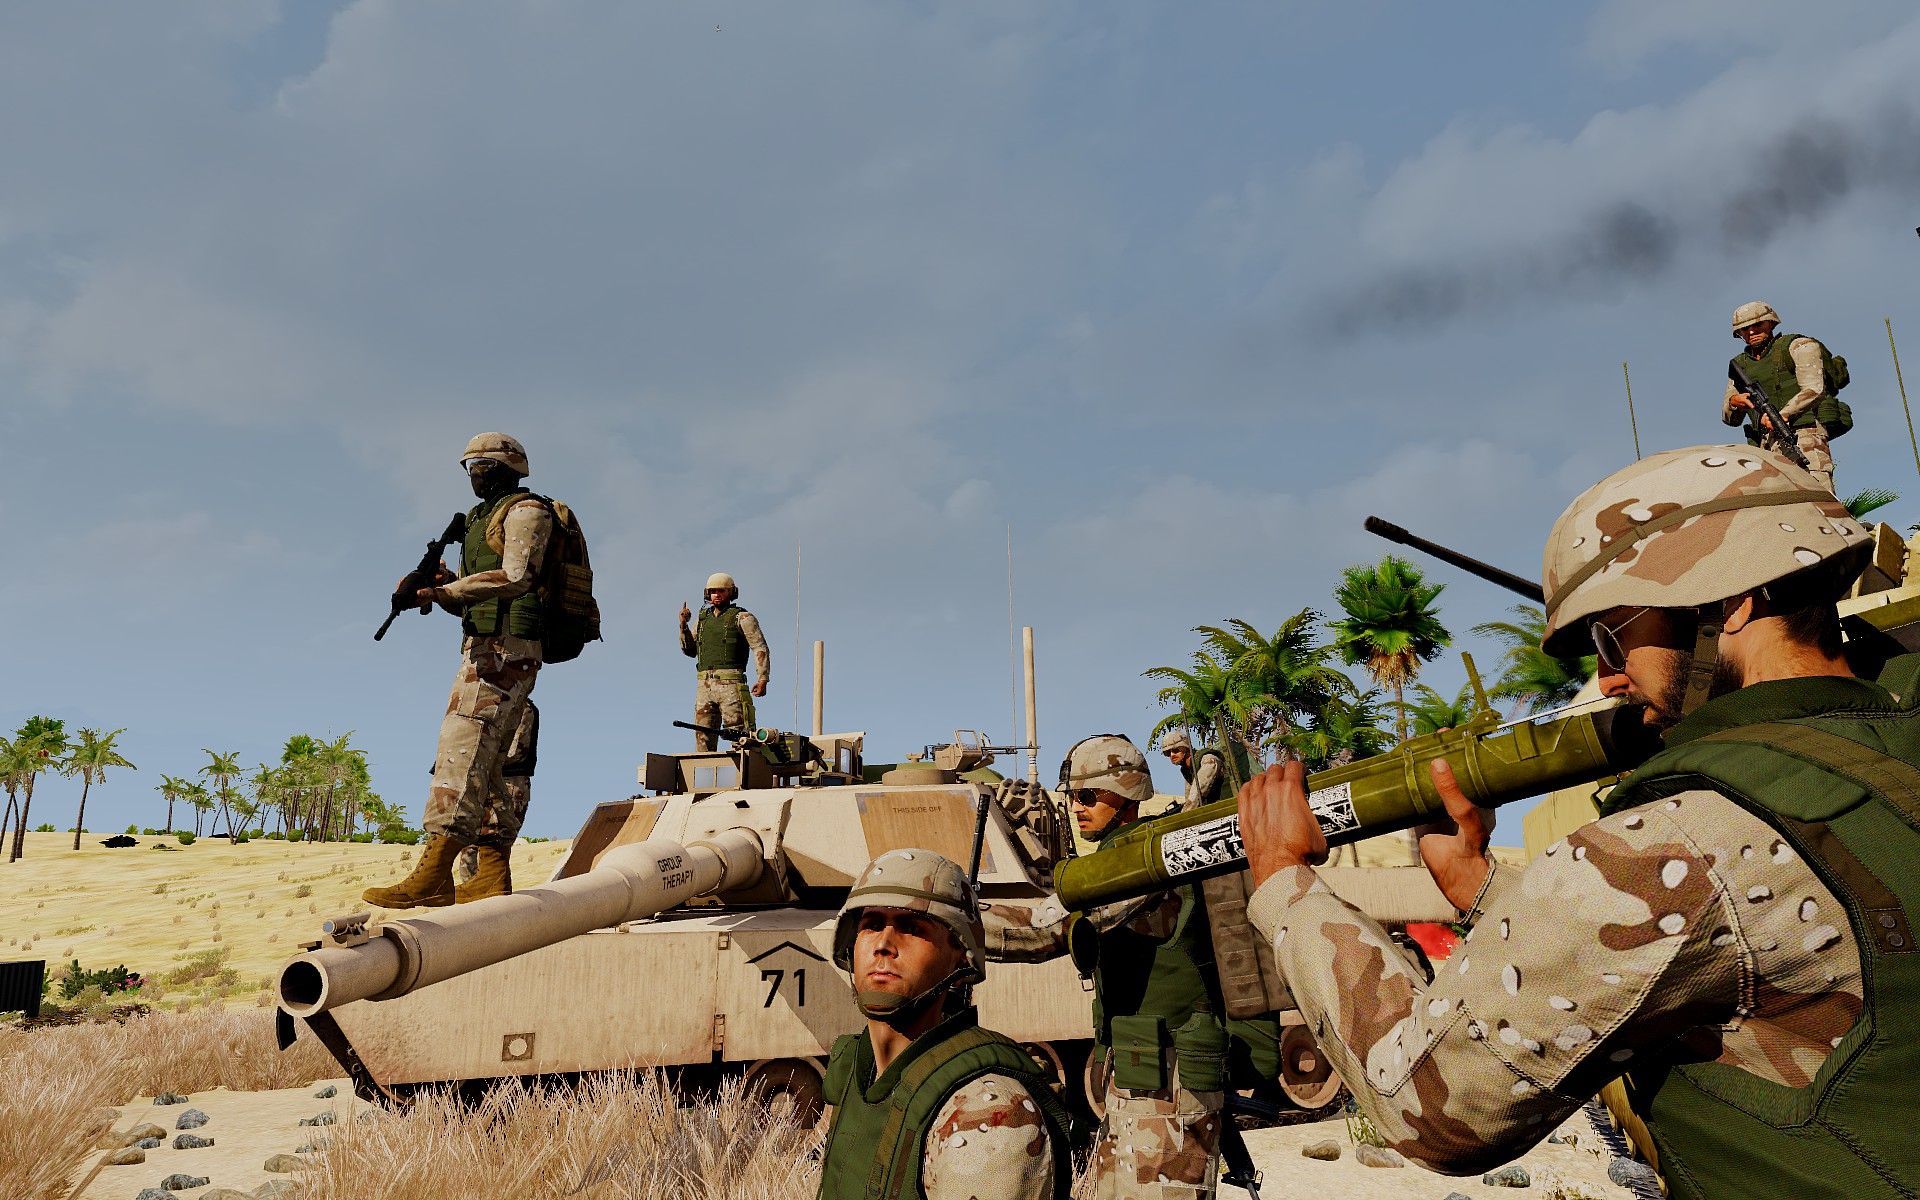
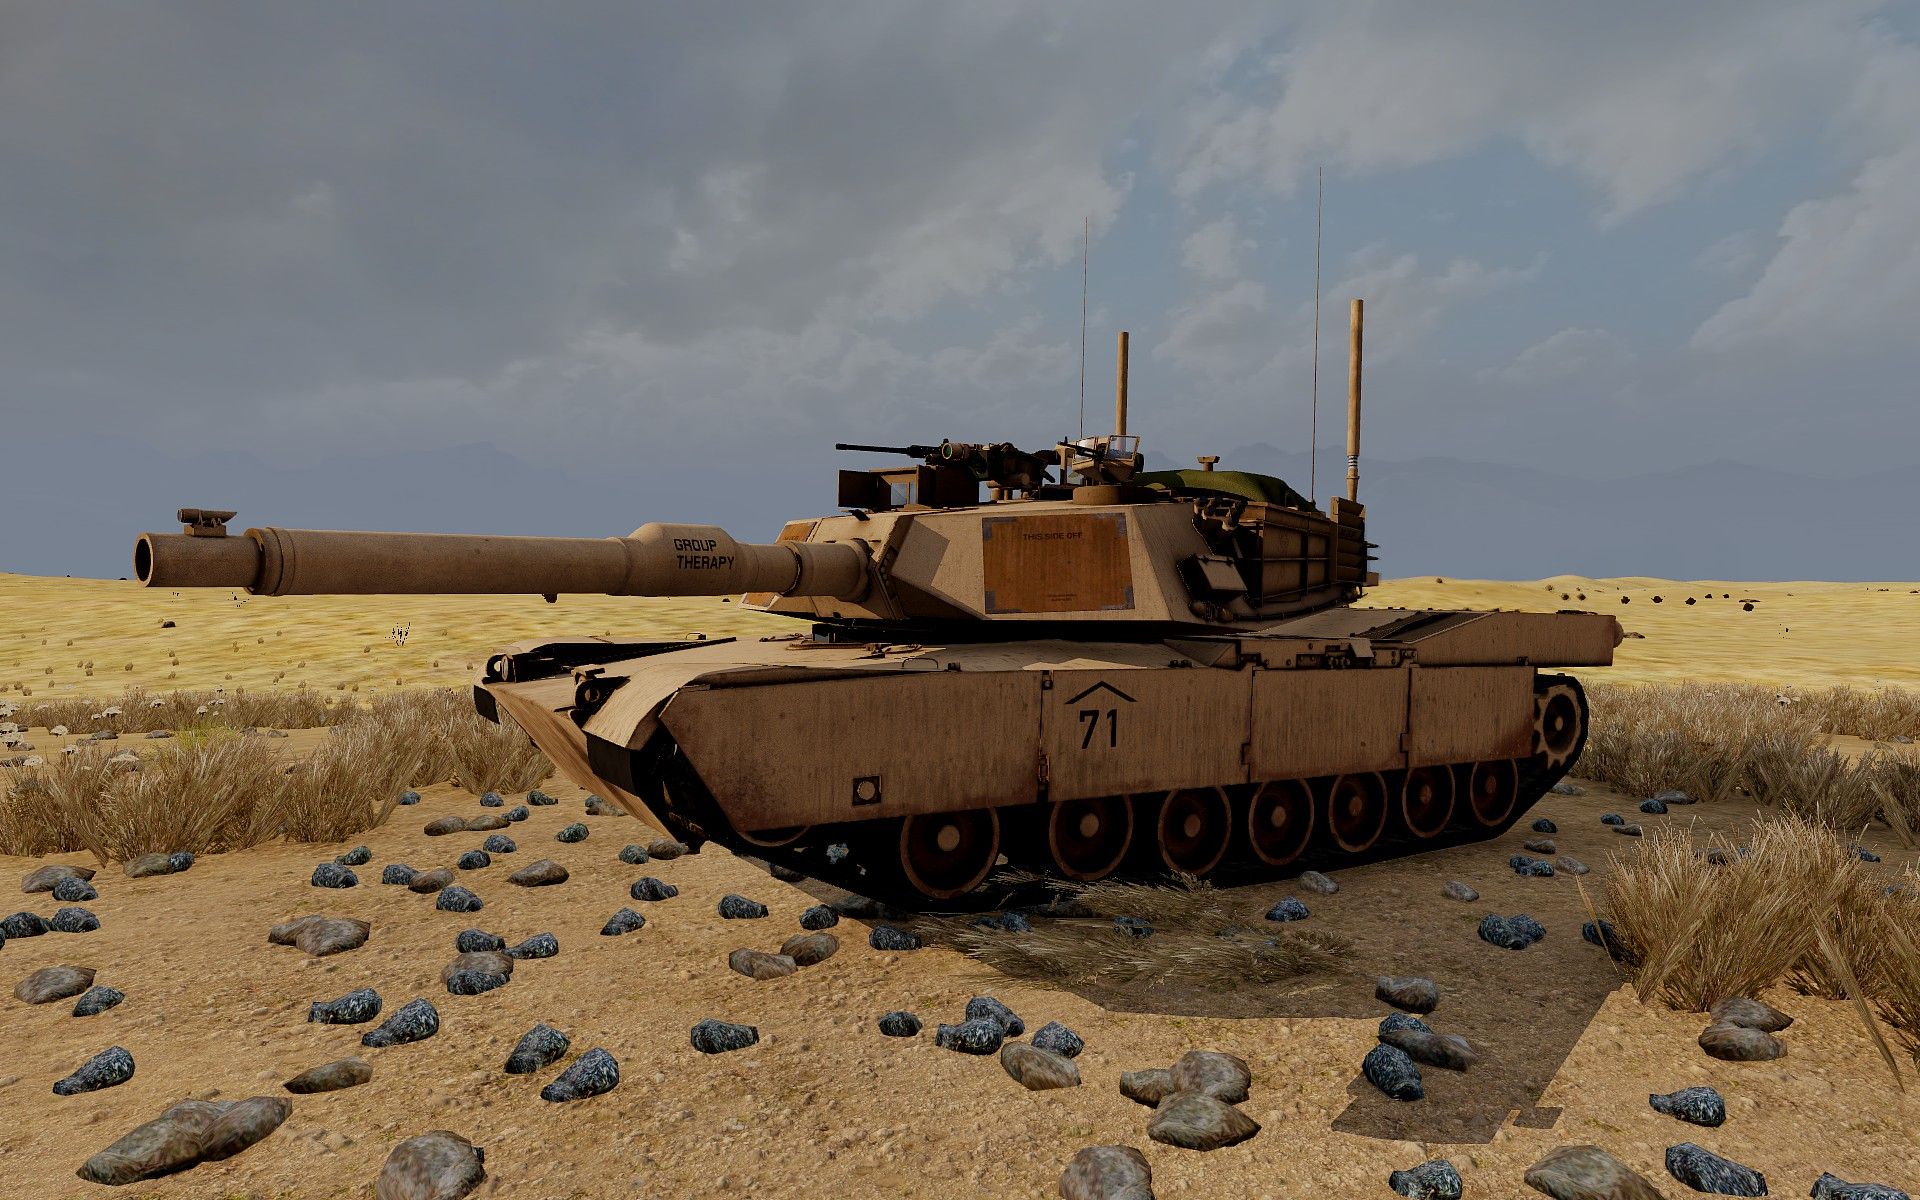
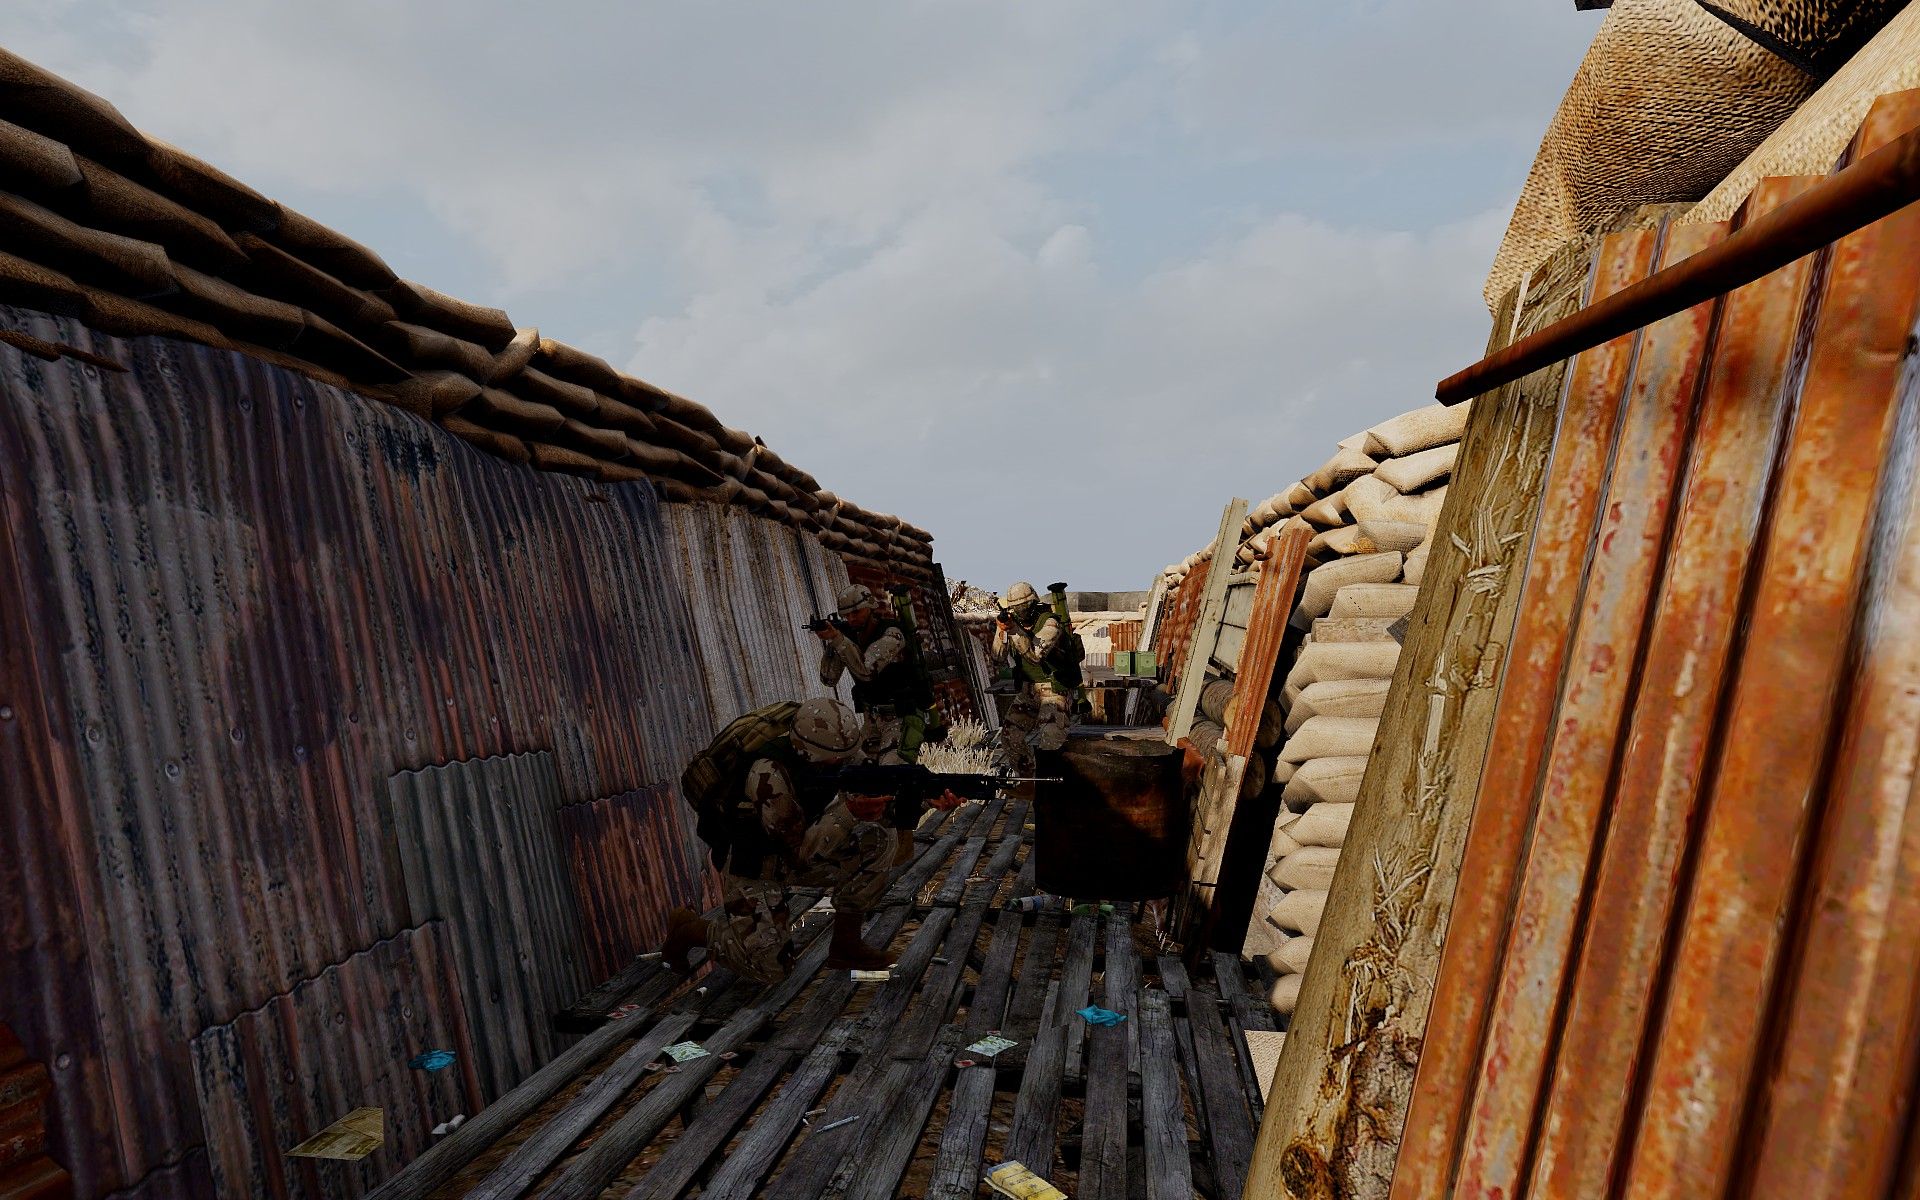
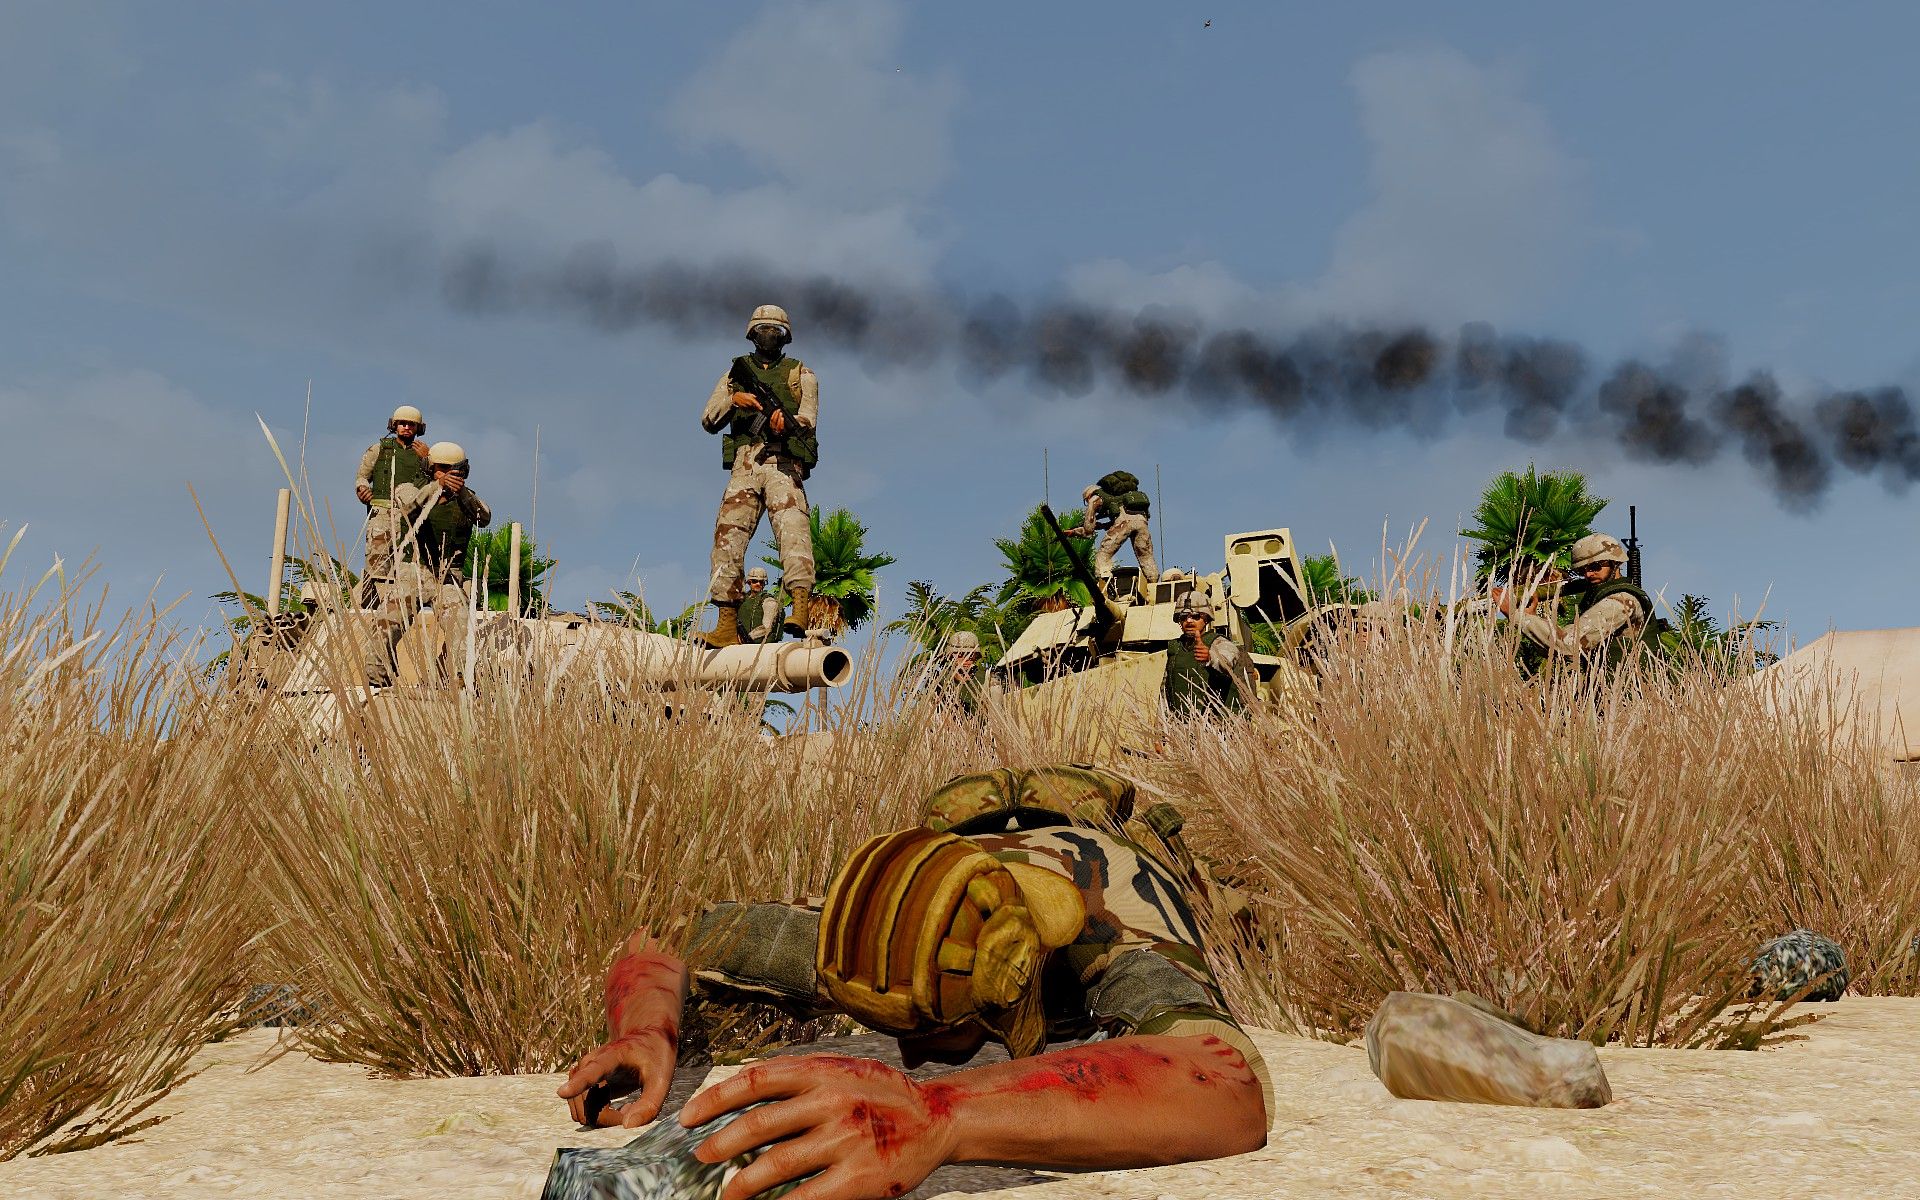
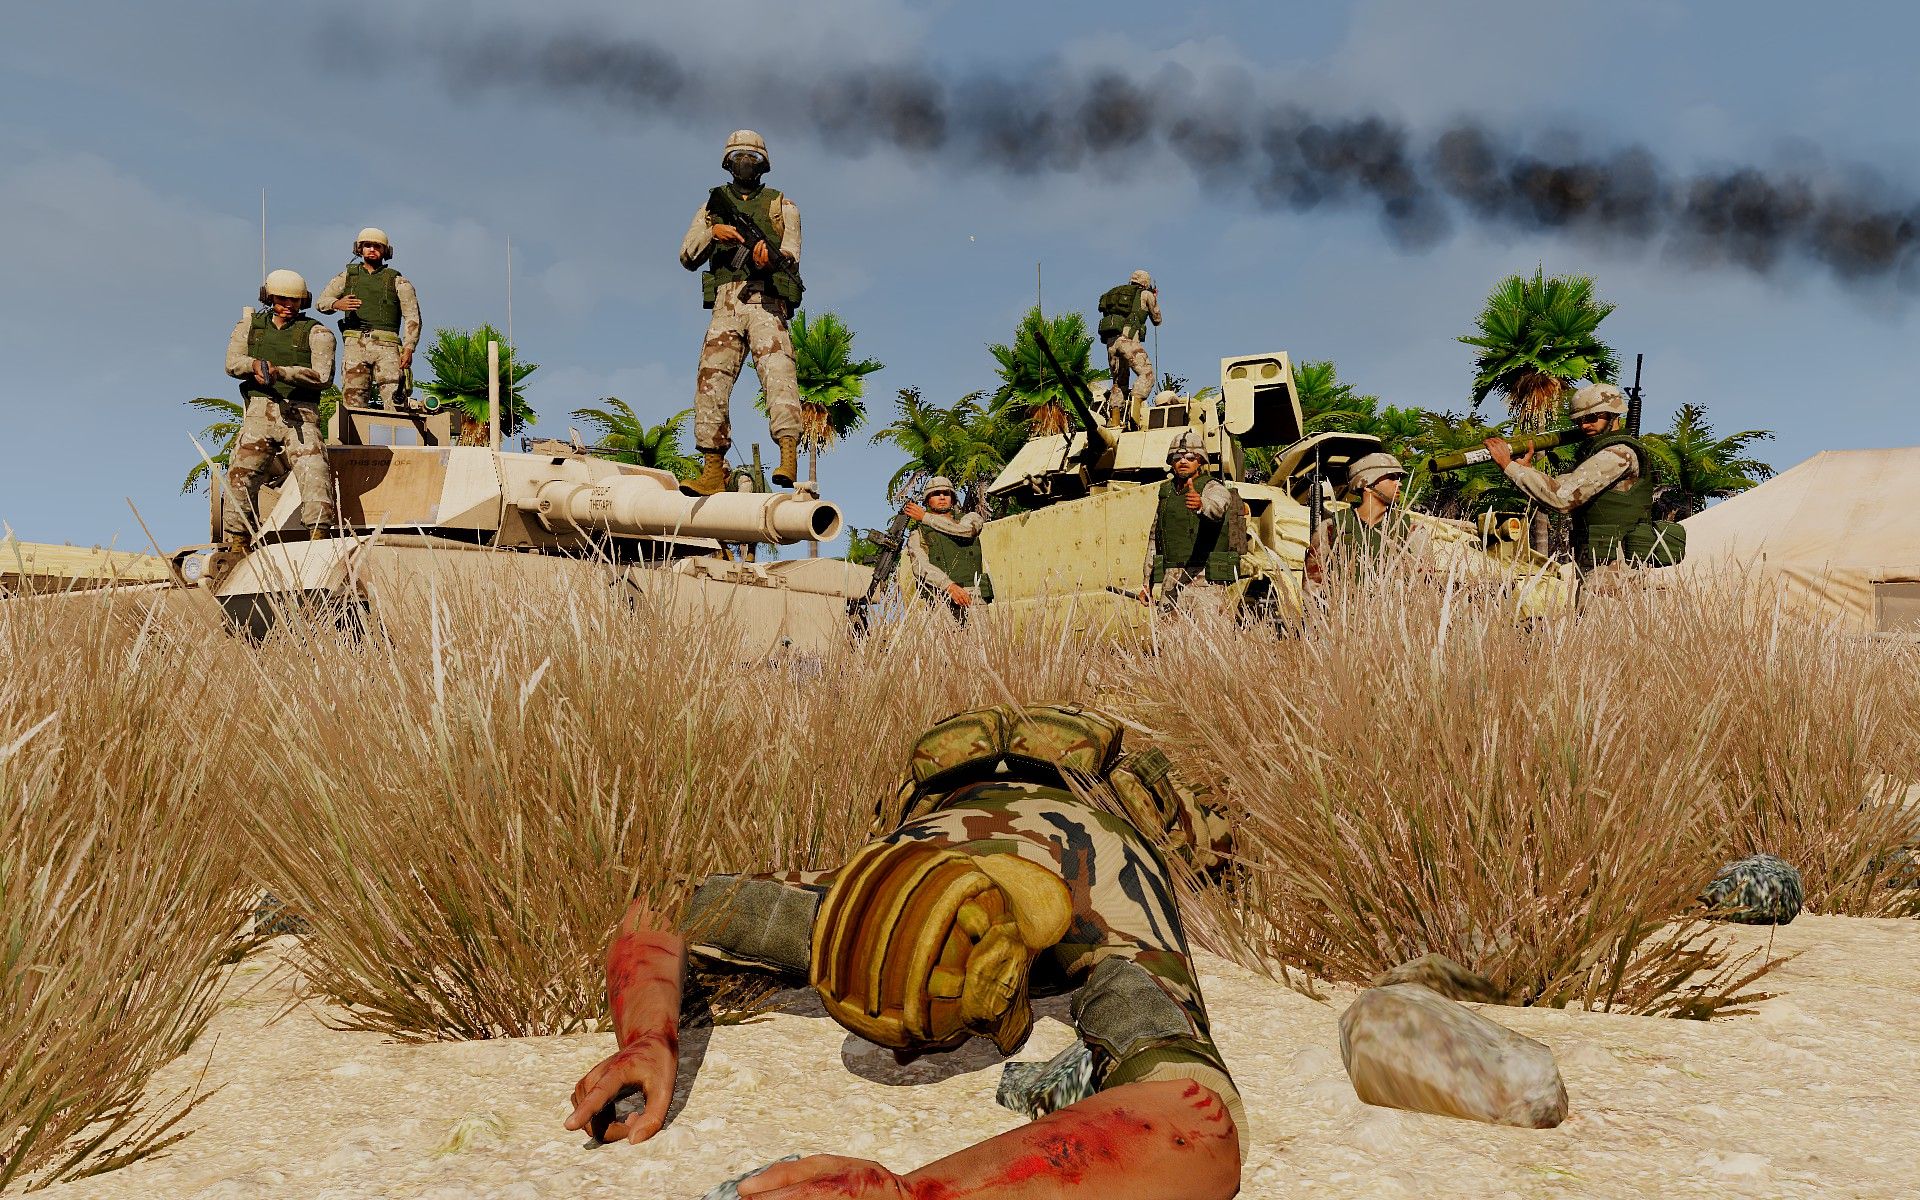
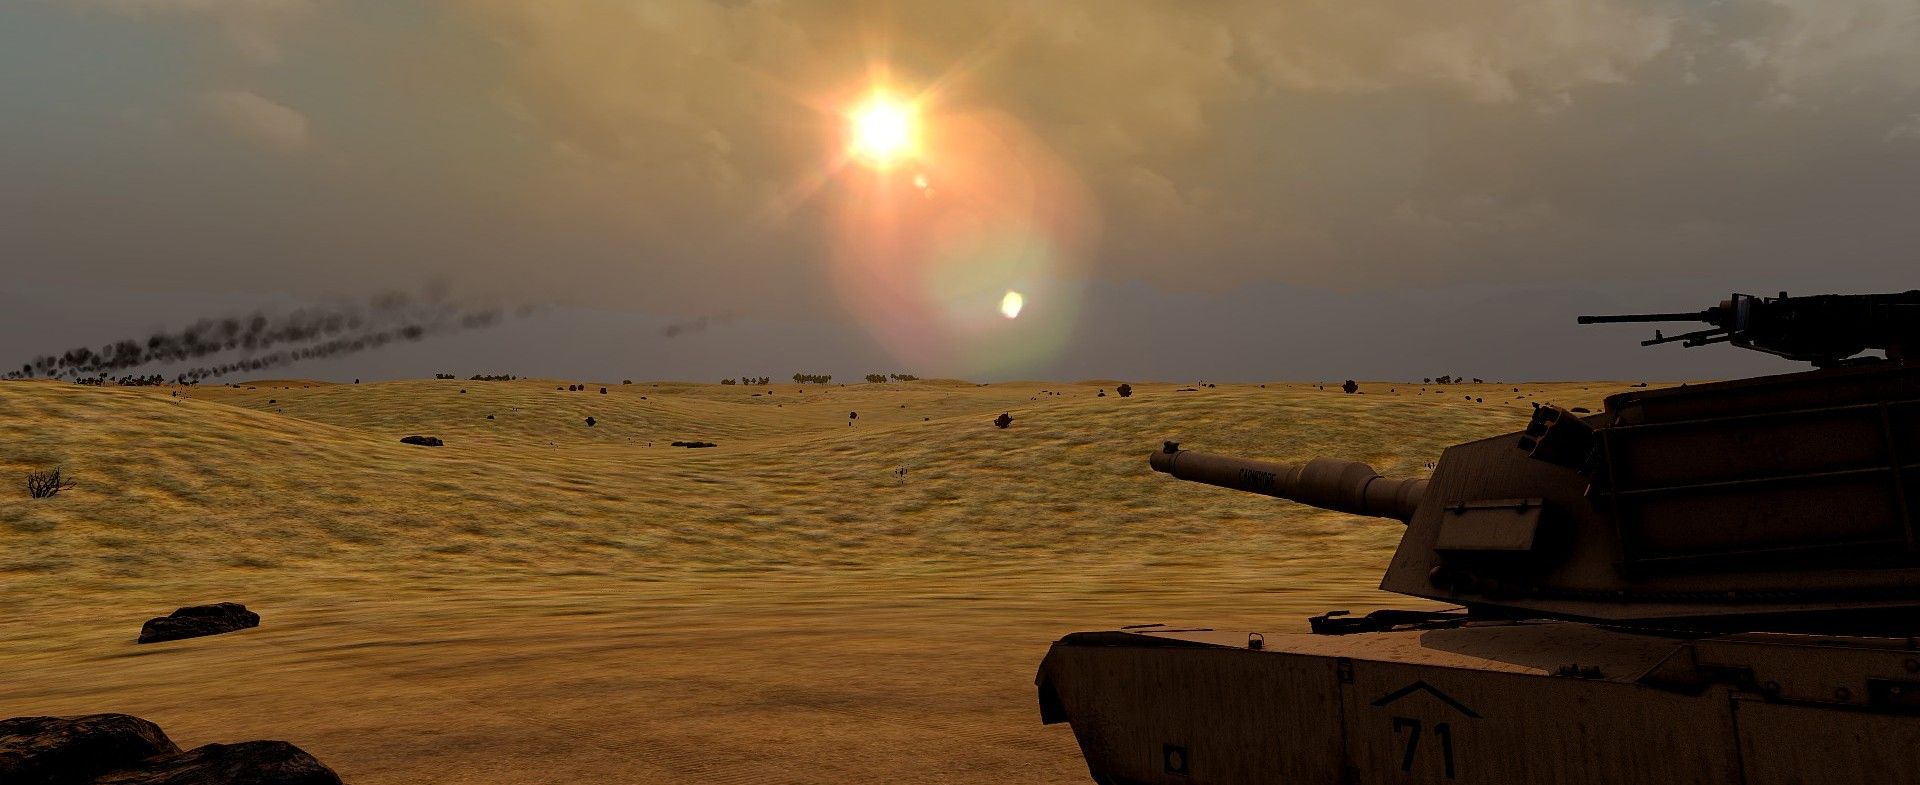
Arma 3 Event Player count: 13 sign-ups [+ reserve] Desert Storm SATURDAY 28th MARCH 2026 - 1700hrs GMT (PRT) training session 1 hour earlier as per tradition (I'll think of something to do, probably infantry-vehicle cooperation) Server name: VETERANS-GAMING | Desert Storm| TS3.VETERANS-GAMING.COM IP: 5.9.23.136:2402 Password: OPFORTown Map: 73 Easting BACKGROUND: https://en.wikipedia.org/wiki/Gulf_War OBJECTIVE: As Desert Shield turns into Desert Storm and the first lines of Saddam's fortifications appear in front of coalition forces, a mechanized element is tasked with creating and securing a breach point. As a great RTO once said the enemy, they don't really seem good at fighting, but then they never really completely surrender either. MODS: Req_73E.htmlReq_Opt_73E.html [Godfather] not required if you prefer to work without a command Ground commander: [Butcher 1-1] Team Leader: Medic: Autorifleman: Pew_Pew Rifleman: kedi Rifleman: =VG= Sphee Rifleman: [War Pig 1-1] - M1 Abrams Tank Commander: Yuu Gunner: =VG= Connor Driver: =VG= X0R Loader: [Hot Box 1-1] - M2 Bradley Vehicle Commander: Gunner: Meatballer Driver: [Reserve] Butcher 1-2 Butcher 1-3 War Pig 1-2 War Pig 1-3 Hot Box 1-2 Hot Box 1-3 There will be no more vehicles if the infantry squad isn't full Priority for vehicle sign ups have people who sign up with the whole crew, then those with the minimal crew (3 for tank, 2 for bradley) And whoever guesses the quote from above first, gets a prize
-
CAS Mission types: Preplanned – Used when air support is planned along with the operation. For example to hit a bunker identified before mission planning. This can also include aircraft being present in the AO just in case. On demand – aircraft are tasked with moving to the AO either from a different task or from an airbase. This is done on demand of the ground commander or a TACP. Emergency CAS – used when the ground element is in dire condition and does not have a JTAC. It can be a group of infantryman who were able to contact an aircraft nearby. In this situation the observer has no knowledge of how to guide in aircraft so it’s the pilot’s task to get the necessary information from the amateur observer. Non-kinetic CAS – Show of force used to make your and above all the aircraft’s presence known to the enemy to decrease morale or change the enemies mind about ambushing your element. Show of Force has been widely used in COIN operations in Iraq and Afghanistan but will probably not work against a near peer enemy. Control Type: Type 1 – The JTAC has to see both the target and the attacking aircraft. The final clearance is called out as Cleared Hot before every attack. Type 2 – The JTAC sees the target but does not have to see the aircraft. Final clearance is called out as Cleared Hot before every attack. Type 3 – The JTAC does not see the target and does not see the aircraft. Most often used either when attacking multiple targets easily spotted by the aircraft and far from friendlies or when a different asset sees / is marking the target (e.g. drone operator). Final clearance is called out as Cleared to engage after which the pilot is free to attack without JTAC’s clearing it further. Attack Types: BOC – Bombs on Coordinates – Usually used for preplanned targets BOT – Bombs on Target – Pilot can be given coordinates but has to visually acquire the target SHOF – Show of Force – Non-kinetic attack Munitions One of many rules of calling in supports is optimizing the usage of munitions. It means using the smallest possible munition that can still achieve the desired effect. In practice it means not dropping a GBU on every possible target because when you actually need it later you won’t have any left. Fighter to JTAC brief The aircraft crew informs the JTAC of: the number and type of aircraft, aircraft’s position, available air-to-ground armaments, playtime (how much time the aircraft can spend over the AO), other capabilities (targeting pods, other sensors, data links etc.), abort code. Example: Voodoo 2-1, this is Viper 5-1, 2 times A-10, GRID 421 brake 056, I have GBU12, Hydra, 1000 cannon, playtime is 20 mikes, abort code is: Avalanche, available for tasking, what do you have for us? JTAC to Fighter brief JTAC describes the situation on the ground in short. They talk about threats (AA, aircraft), friendly aircraft, enemy forces, friendly forces and artillery activity in the AO. Gameplan Gameplan is a report from the JTAC to the pilot. It is made after the check-ins and before the 6/9 - line. It includes: control Type (1, 2 ,3), attack type (BOC, BOT, SHOF), munitions requested. CAS 6-line / 9-line 6 and 9-lines are structured ways of relaying the characteristics of the fire mission to the aircraft. When both the person calling in the airstrikes and the pilot know the procedure well, it makes sure the right targets are engaged at the right time and in the proper way. This is the main part of the CAS mission. I go into more detail about both 6 and 9 lines as well as the entire CAS procedure in separate posts.
-
Call for fire is used to call in artillery fire support. It would often be called in by Forward observers but in Arma it will usually be an RTO or a JTAC. I will break down the report into lines, similar to how CAS requests are structured. CALL FOR FIRE (CFF) Prepare to receive call for fire 1. Observer’s position Adjust Fire 2. Target’s position: GRID, Altitude, Direction from observer OR Target’s position: Direction from observer, Distance from observer, Altitude 3. What the target is What the target is doing Number of elements Degree of protection Size (only if necessary) Munitions requested At my command Fire Fire Adjustments Fire adjustments: If the round hit left of the target, we call adjustment to the Right If the round hit right of the target, we call adjustment to the Left If the round hit in front of the target, we call Add If the round hit behind the target, we call Drop Values for adjustments can be: Direction (measured by observer) Left / Right + distance in meters (minimal correction 30m) Add / Drop + distance in meters (minimal correction 50m) Example Steelrain, Steelrain prepare to receive call for fire Steelrain copies Steelrain, this is Raptor at GRID 133 brake 124 adjust fire, over Adjust fire, out 020 at 800 meters altitude 50 meters, over 020 at 800 altitude 50, out Target is one HMG bunker with dismounts, fire 1 HE shell, over 1 times HE, out … Shot, over Shot, out Splash, over Splash, out Round hits Left 5 0 Drop 100, over Left 5 0 Drop 100 … Shot, over Shot, out Splash, over Splash, out Round hits Add 50, fire for effect, 5 rounds, over Add 5 0, fire for effect, 5 rounds, out This example shows 2 ranging shots being fired. When the observer calls out fire for effect, it lets the shooter know he’s zeroed in and he can fire the proper fire mission. In this example I added the number of rounds being fired because that’s the way it is usually done in Arma. Outside of Arma the procedure of course looks a little bit different. Bracketing When lacking the necessary equipment to precisely range a target for artillery, you need to get creative. An easy way is to use mil dots in your binoculars to calculate the range, but if you’re also lacking that equipment or skill, you will have to estimate range. After you’ve estimate the range, you start calling in ranging shots at the target. After you start the CFF you observe where the shots hit. Remember to stay hidden if you’re under fire and pick out only when you hear the artillery unit call out Splash. Chances are the shot will be short or long. Using that first shot you establish the first bracket by calling Drop/Add 400 (can be less or more depending on how bad/good your estimation skills are). Again chances are the next shots will fall short or long, hopefully if they went long last time, they go short this time and the other way around. This way you close the first bracket. If you’ve managed to create a bracket that encloses your target, you start creating smaller and smaller brackets by splitting the difference. So if you called Drop 400, next you will call Add 200. Then Drop 100 and finally Add 50. That is if you don’t hit the target by then. When you call Add 50, you might consider calling Fire for Effect without waiting for more ranging shots since it will probably be within the error margin anyways. Example In this example our friends at OP Alpha have spotted an enemy convoy stopped on the road. They are clumsy so the left all their batteries at base and lost their maps but still remember their GRID. They estimate range to target to be 700 meters. They call CFF. After some time the first rounds hit at point I. They can tell they fell short so they Add 400. Those go far in II, so they call Drop 200. After shells land in III, they call Add 100 and Fire for Effect hitting IV and destroying the enemy convoy. Now they can RTB and get screamed at by their senior NCOs for losing the gear.
-
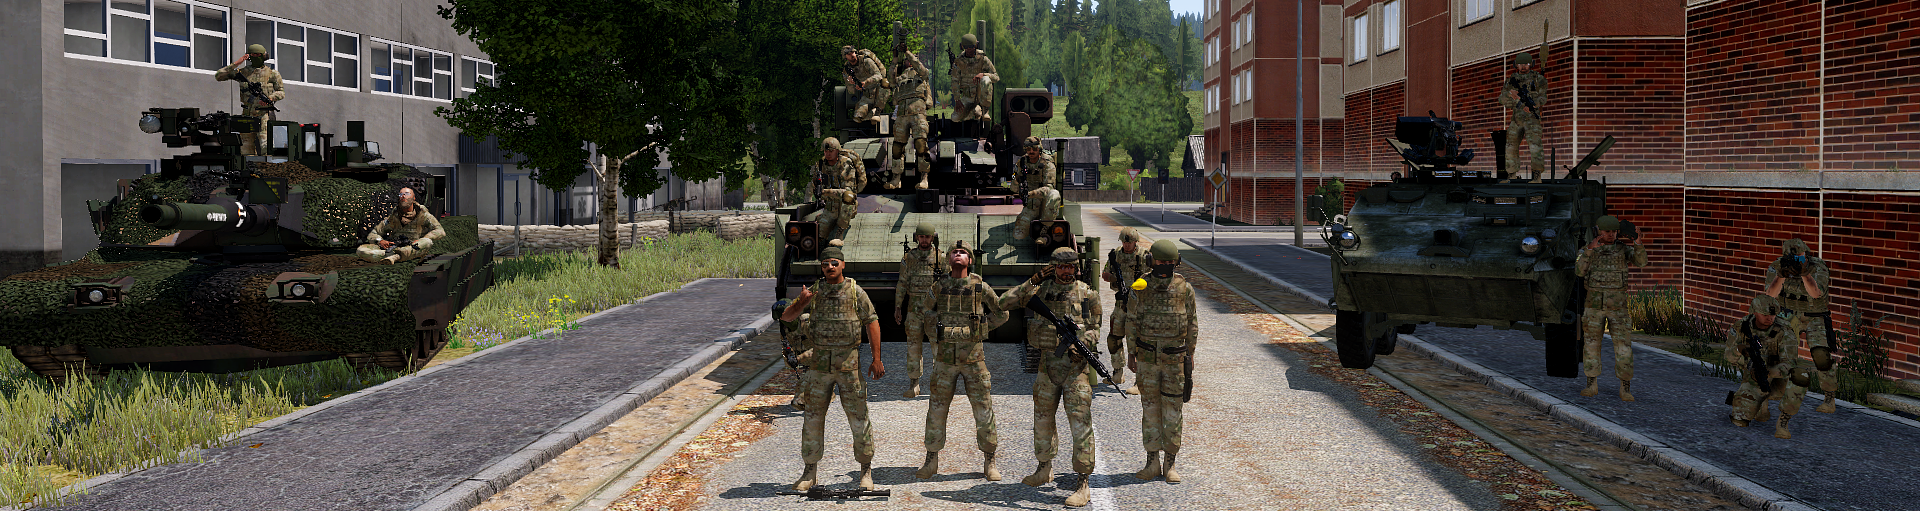
[ArmA Event] Operation Fallen Comrade
=VG= The_Polish_Guy replied to =VG= The_Polish_Guy's topic in Arma III
Just one more slot needs to be taken and @kedican take the second Frog. We all know how bad he wants it.