
=VG= The_Polish_Guy
-
Posts
668 -
Joined
-
Last visited
Content Type
Profiles
Forums
Events
Downloads
Gallery
Articles
AVCS Bug Reports (automated)
AVCS Bug Reports (manual)
VG Wiki
Blogs
Store
Everything posted by =VG= The_Polish_Guy
-
An ambush is a short and rapid attack on an enemy force that is moving or at a short stop. The goal of organizing it can be: capturing a prisoner, capturing documents, capturing new enemy weaponry or equipment, inflicting losses and creating a decline in enemy morale. Place of an ambush is chosen to provide the most cover and concealment possible and a concealed retreat route. The tactic I’ll describe below is more akin to a special forces ambush than one carried out by regular infantry units. The reason is simple. In Arma or other mil-sims we rarely have the opportunity to conduct a platoon ambush. Planning Planning an ambush will mean planning what, when and where will be ambushed and by who with what. The most important is to pick a good place. It should allow for the ambushing force to have enough concealment to not alert the enemy before they walk into the kill zone and enough concealment to retreat safely after the ambush. For that reason the element’s leader should look for forested or built up areas on the route. Terrain features allowing for better cover and field of view are also welcome. Formation An ambush will consist of three main elements: security – responsible for securing the flanks and spotting the enemy force, weapons – responsible for creating a base of fire, assault – responsible for assaulting the kill zone. Security elements can be constructed in two ways. They will either contain a lot of firepower and be equipped with SAWs and GLs or will focus on accurate fires on range and will use a designated marksman. A lot of the time in Arma we can't spare the heavy guns from the kill zone and the marksmen will not be as effective at the shorter engagement ranges of an ambush. The base of fire element will contain any MGs we can use and possibly AT specialists if we are ambushing a motorized enemy. Additionally the element leader might consider letting the weapons section control any explosives used for the ambush by attaching an explosives specialist to it. The assault element will help create interlocking field of fire in the first stage of the ambush and then will move to clear out the kill zone and the area past it. Additional elements can be assigned. A collections element may be assigned with clearing the kill zone by dragging bodies off the route and searching for documents/equipment. And a medic or a medical section may be created or assigned to a CCP to treat wounded. In Arma while there usually is a medic, there usually isn’t enough people to create a collection section. So the task falls to the assault element. Element leader is responsible for selecting positions for all the sections unless they decide to delegate that responsibility to section leaders. They set the location of the kill zone (an area where the enemy force will be contained and destroyed) and coordinate the work of the element during the ambush. Execution Positions are taken by the sections. First the security section. Then the weapons section and last by the assault element. The ambush starts by the security element spotting the main enemy force. It is crucial to not attack a scout section or vehicle instead of the main force. The security element relays that and any information about the enemy: quantity of enemy, quantity and type of vehicles, any special equipment, anything else that might influence an ambush. Until the ambush initiates it is very important to stay hidden. When the enemy element gets is in the kill zone, the ambush initiates. The ambush is always initiated by the most casualty producing weapon. The best systems to start an ambush with are, in that order: explosives (IEDs, claymores, mines etc.), AT launchers if the element is mounted, machineguns Once the designated weapon fires, the ambush begins and both the weapons and assault elements open fire. There is no set amount of time for this part of the ambush. The goal of it is to suppress the enemy in place and inflict as many losses as possible. Once the element leader is happy with the result they will signal to cease fire and assault. Some phrases to expect might be: “Cease fire”, “Lift fire”, “Walk through”. Additionally if the kill zone is divided up into fire zones there might be a call to “Shift fire”. When a command is given and the fire into the kill zone stops, the assault element walks through and clears the kill zone and a patch of land around 35 meters past the road/path (app. hand grenade range). Once the walkthrough is complete and the objective completed all of the sections retreat to the predesignated RP. The retreat order is opposite to the order of taking positions. First elements retreat the last. So the assault element leaves followed by the weapons section and the rear is brought up by the security element. Once at the RP the ambush is complete and the element can continue to the next task. Ambush shapes There are two main ambush shapes. Line and L-shaped. They are pretty self-explanatory. In a line ambush both the weapons and assault elements are set up along the route in a somewhat straight line. While an L-shape has the weapons section or part of it set up on a road bend, a barricade or something similar looking at the front of the enemy force. The shape should be chosen accordingly to the terrain but it is important to remember that we are still trying to achieve interlocking fields of fire when possible.
-
Project Reality - Future Event - POLL
=VG= The_Polish_Guy replied to =VG= Sphee's topic in PR Cooperative
See @=VG= Sphee it wasn't just me and lonestar wanting to mess with players. It's actually a good idea. -
CAS Fire Mission with CAS 9-line
=VG= The_Polish_Guy commented on =VG= The_Polish_Guy's blog entry in Tactics & Techniques for Arma
Didn't know if I should put it in the post so I'll leave it here. A great video showing what a CAS missions looks like. Won't replace actually doing it yourself but it helps to understand it better. -
CAS Fire Mission with CAS 9-line
=VG= The_Polish_Guy posted a blog entry in Tactics & Techniques for Arma
CAS 9-line 9-line is a structured way of relaying the characteristics of the fire mission to the aircraft. When both the person calling in the airstrikes and the pilot know the procedure well, it makes sure the right targets are engaged at the right time and in the proper way. CAS 9-line 1. Initial Point / Battle Position [IP/BP] Point from which the attack should begin 2. Heading Offset Heading (in degrees) from IP to target Offset from the heading (±degrees) 3. Distance Distance from IP to target (in NM / Km in Arma) 4. Target elevation (in feet ASL / meters ASL in Arma) 5. Target description Target and its surroundings 6. Target location GRID or visual 7. Markings Method of marking the target (laser, IR sparkle, smoke etc.) 8. Location of friendlies Markings Distance and direction (degrees / cardinal direction) from target 9. Egress (degrees / cardinal direction) or: Remain overhead Back to IP/HP Pilot Discretion Left/Right Pull or a combination Remarks and Restrictions: Additional readbacks Final attack heading (degrees / cardinal direction) Laser / pointer target line Surface to air threats, type, location, countermeasures Airspace coordination areas Danger close Abort restrictions Desired number of ordnance Additional remarks (weather, terrain, hazards) Time on Target Lines From the Overhead If the JTAC wants to leave some part of the planning to the aircraft, they will use a From the Overhead call. It is most often used with lines 1-3 to allow the pilot to approach the target however they please. In that situation the JTAC would call: Lines 1 through 3 – From the Overhead. At the beginning of the 9-line. If the JTAC still wants to control some aspect of the attack they can restrict the final attack heading in remarks after calling 1-3 from the overhead. That way the pilot can line up the attack how they deem best, but are still restricted to one attack heading. Readback Next step of the procedure is the aircraft doublechecking if the information was understood properly. The aircraft will repeat lines 4-6 and any restrictions to the JTAC. Additionally the JTAC can request additional lines or remarks to be read back during their 9-line call. If the readback is correct the JTAC will respond with: Good readback. Talk-on When using BOT, the aircraft has to see the target to engage it. That’s why after a good readback the JTAC will ask the aircraft to acquire the target visually. If the aircraft has a targeting pod the JTAC will call this by saying: Push sensor to lines 4-6, describe what you see. Next the aircraft will describe what they see in a way allowing the JTAC to verify they are indeed looking at the same thing. If the JTAC is not sure, they will keep asking questions until they are. To avoid too many questions and speed up the process the aircraft should start by describing: direction from a terrain feature, distance from a terrain feature, the way the target is facing, etc.. Anything from color to the number of wheels or floors can be used by the JTAC to identify the target. If the pilot cannot acquire the target, it’s the JTAC task to guide him onto it by describing where to look for it. This can be achieved by describing its location in regard to a terrain feature. Some of the calls used at this point are: Contact – aircraft has spotted something (unknown if hostile) Capture – an enemy target confirmed by JTAC Tally – aircraft has spotted enemy targets (eyes on) No Joy – can’t spot the target Visual – aircraft sees friendly position Blind – aircraft cannot see friendly position After a positive verification of the target the JTAC will call: That is your target or That is your primary target. This is when a Type 2 control attack run starts. Roll-In This is the part of the procedure that sets up the aircraft for the final attack run. It will go something like this: (Pilot) Pushing [on the way to the IP] (JTAC) Continue [allowing the aircraft to continue lining up for the attack] (JTAC) Laser On (if lasing) [the moment laser is turned on if it’s being used] (Pilot) Tally laser (if lasing) [pilot sees laser, munition locks the laser] (Pilot) In [Pilot starts the final attack] (JTAC) Cleared Hot [JTAC clears aircraft to release munitions] And then the JTAC listens to explosions. These are the last moments to call of the attack. The attacking aircraft can only fire after being Cleared Hot. After a Cleared Hot call the pilot will probably call one of the following: Pickle – release of unguided bomb/s Paveway – release of laser-guided bomb/s Rifle – launch of air-to-ground missile/s Guns – employment of the onboard gun/s Rockets – launch of unguided rocket/s BDA There is not need to overcomplicate Battle Damage Assessment. If the mission was successful, you call Mission Successful if not, the opposite. If the mission wasn’t successful and you want the aircraft to reengage, you simply transmit the gameplan, 9-line and remarks again. If they haven’t changed, you transmit the gameplan with a message: (Same 9 line, Same remarks). If you want to change only part of your 9-line or gameplan, you can get creating with editing only certain lines. Remember to repeat the talk on if doing BOT and changing lines 4-6. Example of a CAS mission (simplified for Arma): Callsigns: HQ – Overlord F-18 – Hornet 5-2 JTAC – Voodoo 4-1 CAS request Overlord come in for Voodoo 4-1 This is Overlord This is Voodoo 4-1 I need CAS support in my AO, do you have anything for us? Roger that, sending 2 F-18s your way Voodoo 4-1 copies, tasking on frequency 5 5, push HP Olymp, GRID 074 break 545 Tasking on 5 5, push HP Olymp, GRID 074 break 545 Roger, Voodoo 4-1 out Check-In Voodoo 4-1 this is Hornet 5-2, radio check over Hornet 5-2, Voodoo 4-1, I hear you Lima Charlie Voodoo 5-2 this is Hornet 5-2, 2 times F 18, at 074 break 545, I have GBU12, AGM-65 and cannon, time on station is 5 mikes, available for tasking what do you have for us? Hornet 5-2 this is Voodoo 4-1, no known AA threats in the AO, no artillery activity, friendly UAV on GRID 065 break 533 2000 meters, no other aircraft in the AO, advise when ready for gameplan. Gameplan, 9-Line Hornet 5-2 ready Type 2 control, bombs on target, 1 times AGM, advise when ready for 9-line Hornet ready 1 through 3 from the overhead, 60, technical vehicle, GRID 066 break 544, IR sparkle, east 500, remain overhead, ready for remarks? Hornet ready Remarks, final attack heading west east, readback all lines, waiting for readback Voodoo 4-1, Hornet 5-2, 1 through 3 from the overhead, 60, technical vehicle, GRID 066 break 544, IR sparkle, east 500, remain overhead, final attack heading west east Hornet 5-2, good readback, push sensors lines 4 6, report what you see Talk-On, Engagement Voodoo 4-1, Hornet 5-2, contact one times technical vehicle marked with IR sparkle Hornet 5-2, Voodoo 4-1 confirm orientation of the vehicle Voodoo 4-1, the vehicle is facing north Hornet 5-2, this is your primary target Capture, Hornet 5-2 pushing IP Hornet continue, report In Hornet 5-2 is, In, hot, heading east Hornet, CLEARED HOT Rifle Hornet 5-2 this is Voodoo 4-1, mission success, push HP Olymp, thanks for the help, Voodoo 5-2 out. -
Back To Roots - TEST RUN - 24/05/2026 (ENDED)
=VG= The_Polish_Guy replied to =VG= Sphee's topic in PR Cooperative
It's used for talking. No need to thank me. -
Project Reality - BF2 Event - POLL (ENDED)
=VG= The_Polish_Guy replied to =VG= Sphee's topic in PR Cooperative
Not following / responding to your commander? resign SL I'm so good at resolving other's problems -
Project Reality - BF2 Event - POLL (ENDED)
=VG= The_Polish_Guy replied to =VG= Sphee's topic in PR Cooperative
Event with commander actually being able to command the squads under him. Yes I want more mil-sim in a mil-sim game. Also 20 one-man apaches and no manpads please -
[Project Reality Event] Rinse, recycle, repeat (ENDED)
=VG= The_Polish_Guy replied to =VG= Sphee's topic in PR Cooperative

-
I'll take whatever role as well, I'm fine with being the lacking leader
-
[ArmA Event] Operation Desert Storm
=VG= The_Polish_Guy replied to =VG= The_Polish_Guy's topic in Arma III
Thanks for coming!
-
[ArmA Event] Operation Desert Storm
=VG= The_Polish_Guy replied to =VG= The_Polish_Guy's topic in Arma III
@=VG= Connor @=VG= XOR you fine with that? Asking since you did take it first and X0R guessed the quote so I owe you that much. Personally I'd prefer the tank has 3 crew rather than two. But then again without enough infantry you will not complete the mission. -
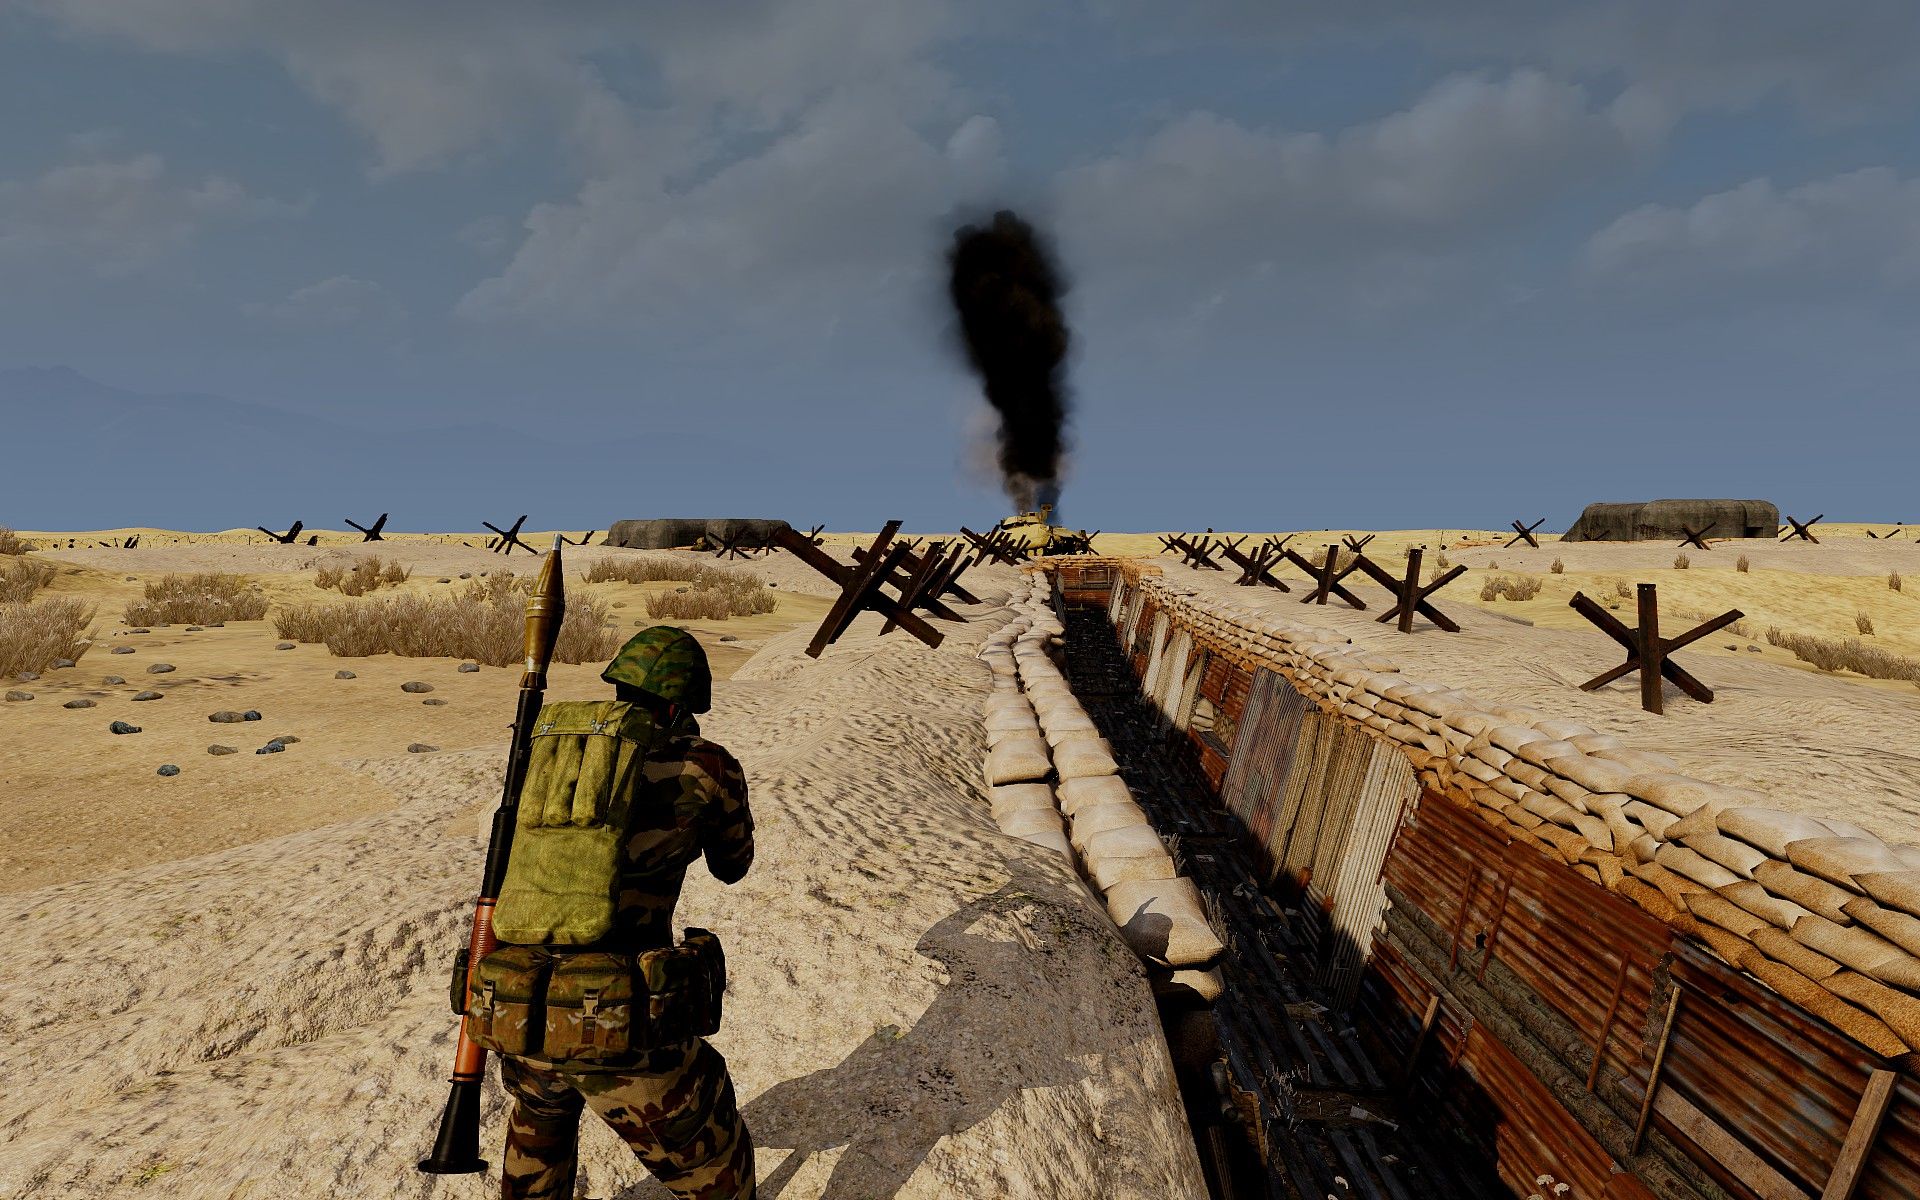
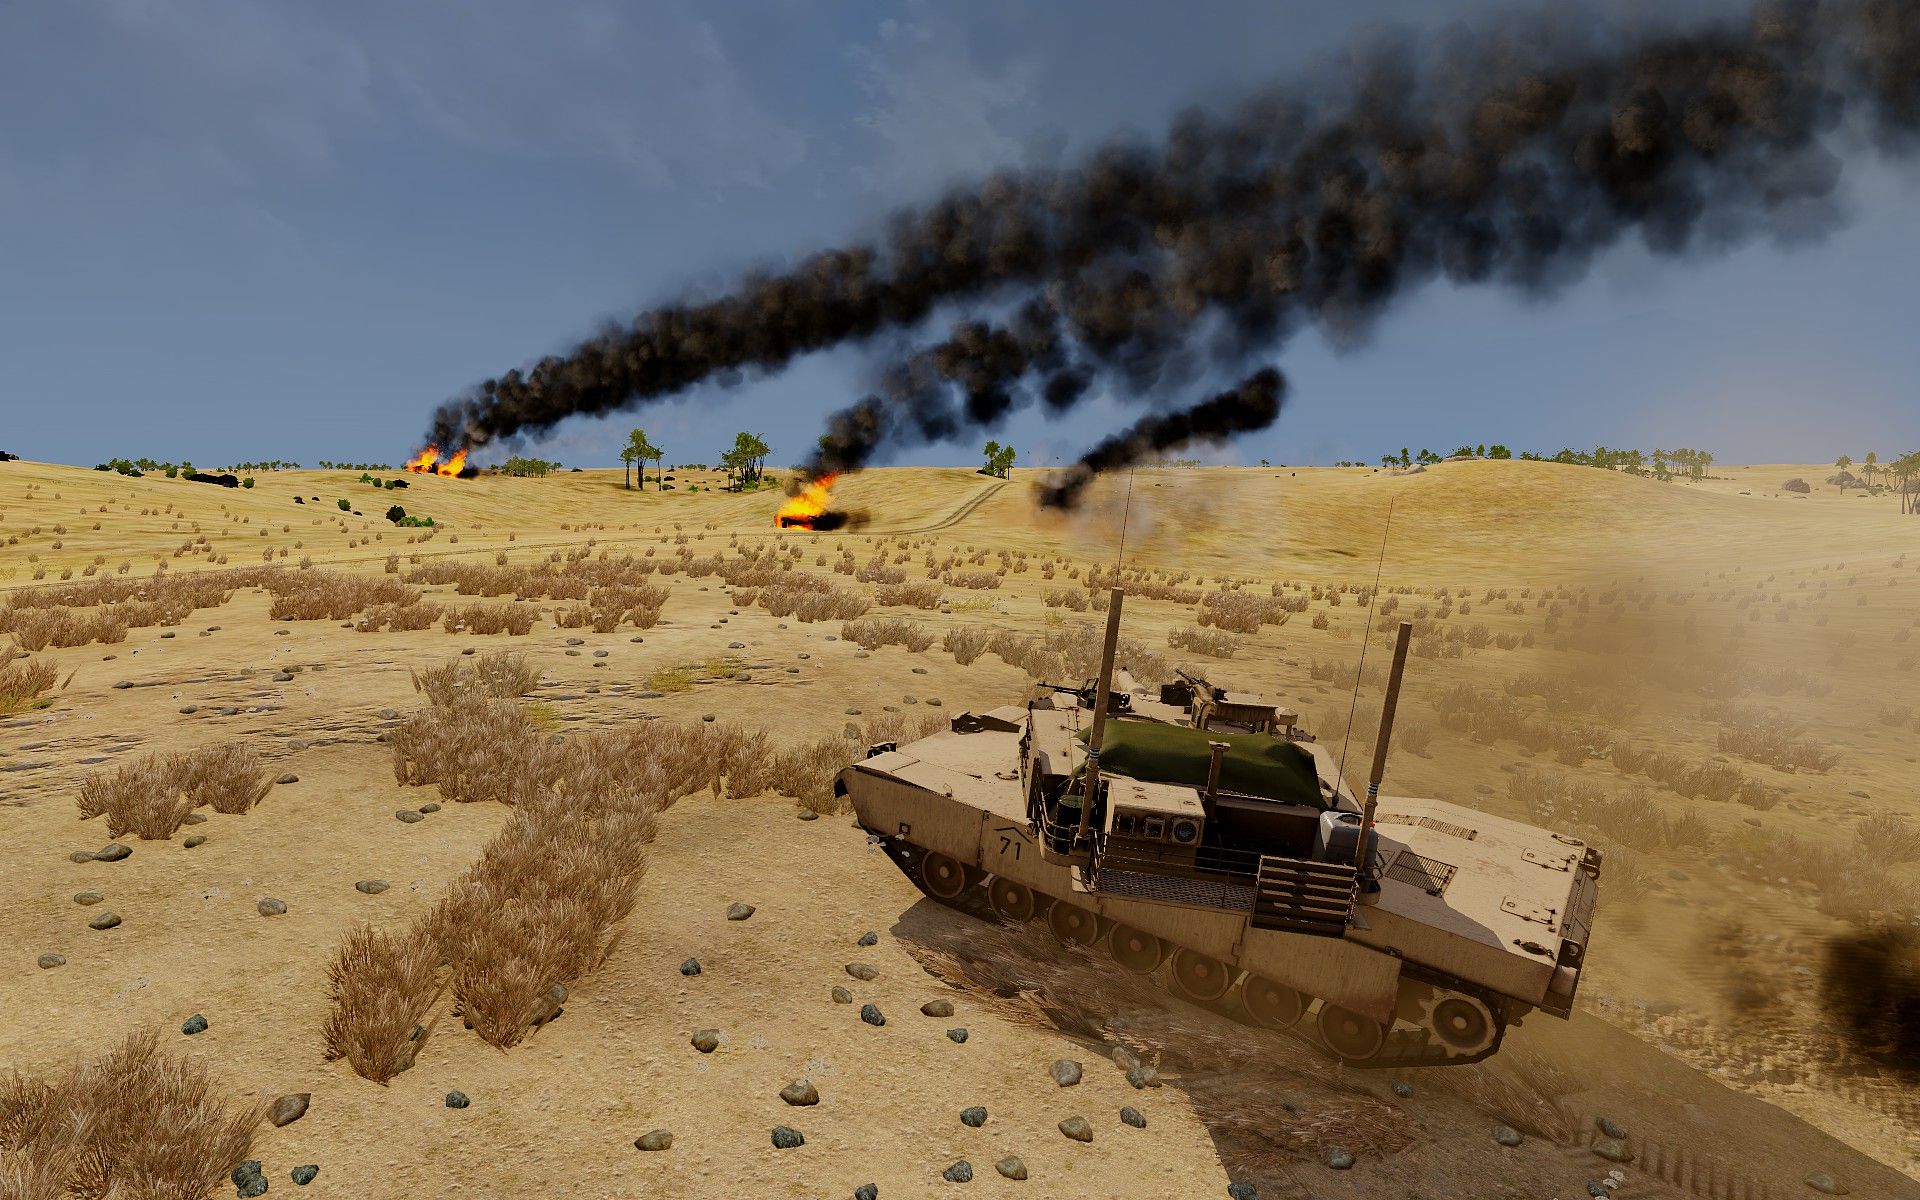
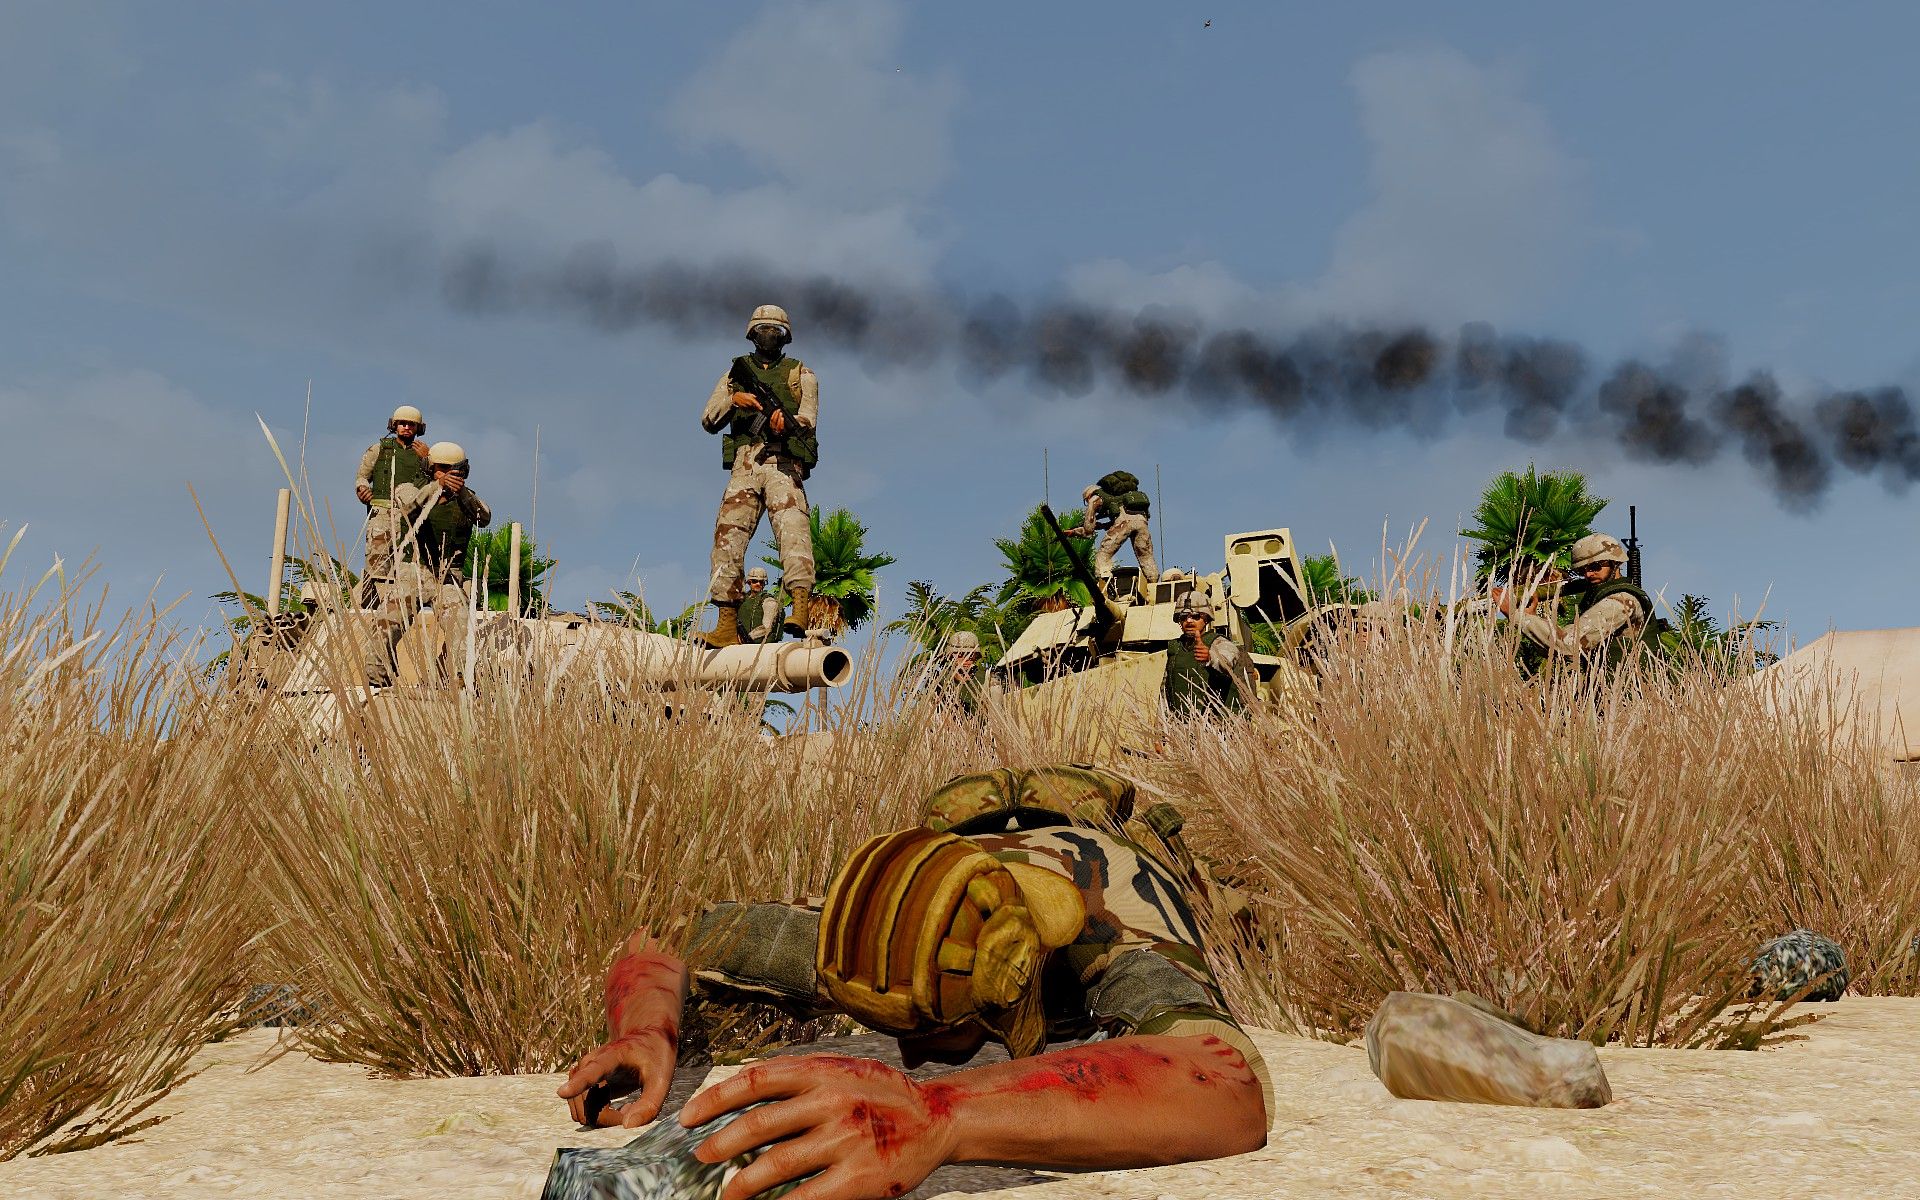
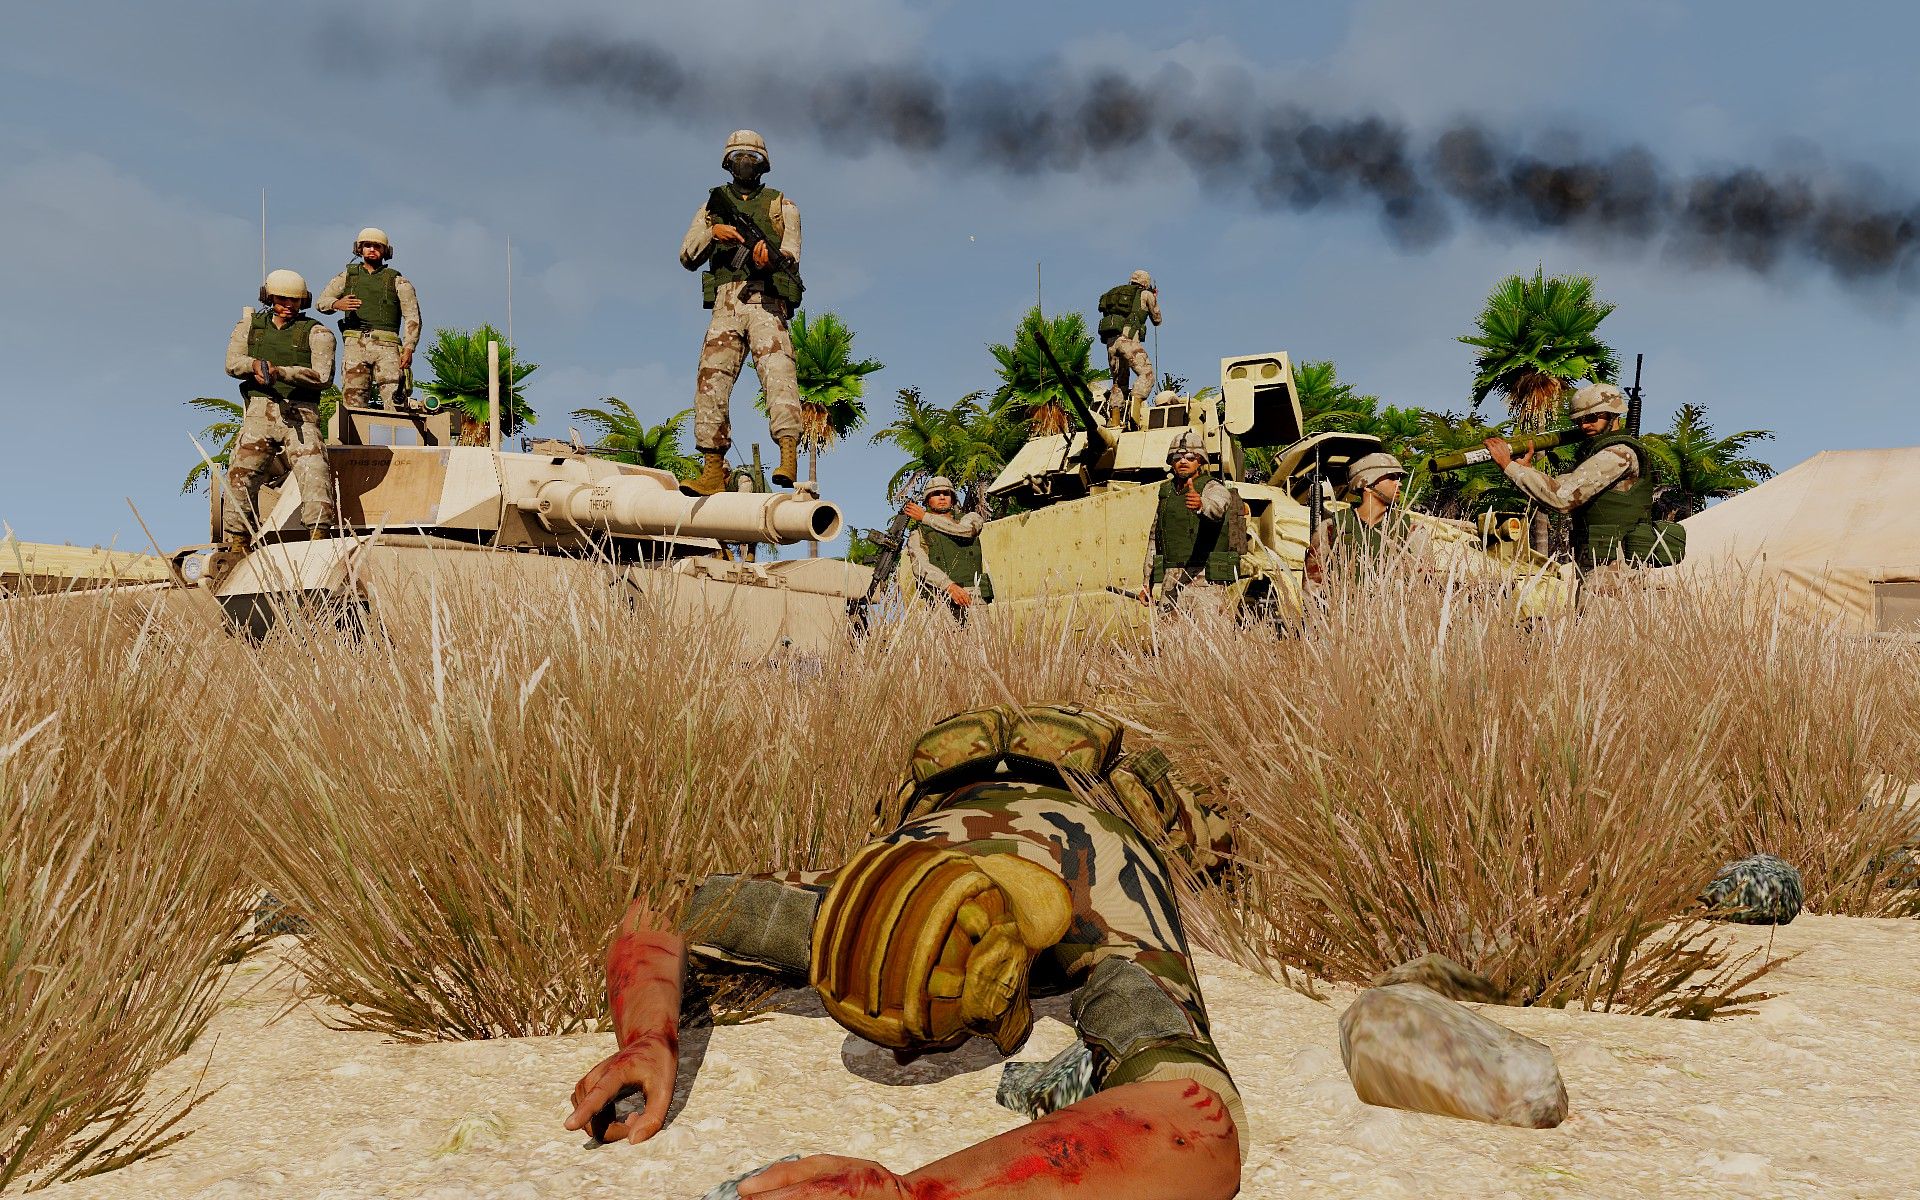
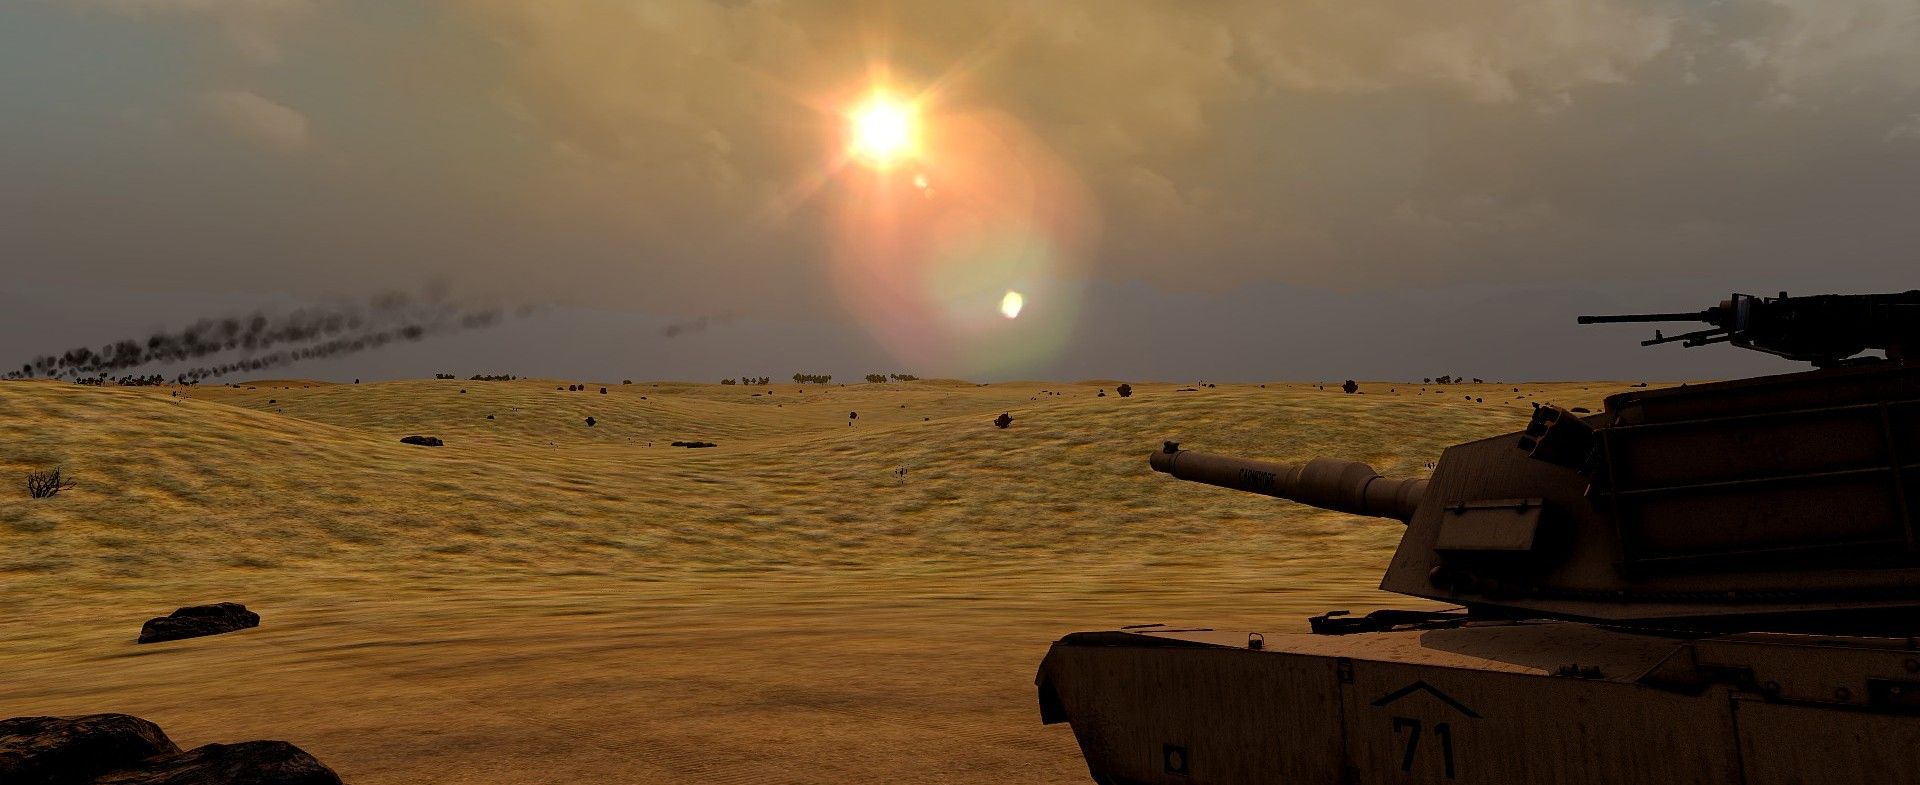
Arma 3 Event Player count: 13 sign-ups [+ reserve] Desert Storm SATURDAY 28th MARCH 2026 - 1700hrs GMT (PRT) training session 1 hour earlier as per tradition (I'll think of something to do, probably infantry-vehicle cooperation) Server name: VETERANS-GAMING | Desert Storm| TS3.VETERANS-GAMING.COM IP: 5.9.23.136:2402 Password: OPFORTown Map: 73 Easting BACKGROUND: https://en.wikipedia.org/wiki/Gulf_War OBJECTIVE: As Desert Shield turns into Desert Storm and the first lines of Saddam's fortifications appear in front of coalition forces, a mechanized element is tasked with creating and securing a breach point. As a great RTO once said the enemy, they don't really seem good at fighting, but then they never really completely surrender either. MODS: Req_73E.htmlReq_Opt_73E.html [Godfather] not required if you prefer to work without a command Ground commander: [Butcher 1-1] Team Leader: Medic: Autorifleman: Pew_Pew Rifleman: kedi Rifleman: =VG= Sphee Rifleman: [War Pig 1-1] - M1 Abrams Tank Commander: Yuu Gunner: =VG= Connor Driver: =VG= X0R Loader: [Hot Box 1-1] - M2 Bradley Vehicle Commander: Gunner: Meatballer Driver: [Reserve] Butcher 1-2 Butcher 1-3 War Pig 1-2 War Pig 1-3 Hot Box 1-2 Hot Box 1-3 There will be no more vehicles if the infantry squad isn't full Priority for vehicle sign ups have people who sign up with the whole crew, then those with the minimal crew (3 for tank, 2 for bradley) And whoever guesses the quote from above first, gets a prize
-
CAS Mission types: Preplanned – Used when air support is planned along with the operation. For example to hit a bunker identified before mission planning. This can also include aircraft being present in the AO just in case. On demand – aircraft are tasked with moving to the AO either from a different task or from an airbase. This is done on demand of the ground commander or a TACP. Emergency CAS – used when the ground element is in dire condition and does not have a JTAC. It can be a group of infantryman who were able to contact an aircraft nearby. In this situation the observer has no knowledge of how to guide in aircraft so it’s the pilot’s task to get the necessary information from the amateur observer. Non-kinetic CAS – Show of force used to make your and above all the aircraft’s presence known to the enemy to decrease morale or change the enemies mind about ambushing your element. Show of Force has been widely used in COIN operations in Iraq and Afghanistan but will probably not work against a near peer enemy. Control Type: Type 1 – The JTAC has to see both the target and the attacking aircraft. The final clearance is called out as Cleared Hot before every attack. Type 2 – The JTAC sees the target but does not have to see the aircraft. Final clearance is called out as Cleared Hot before every attack. Type 3 – The JTAC does not see the target and does not see the aircraft. Most often used either when attacking multiple targets easily spotted by the aircraft and far from friendlies or when a different asset sees / is marking the target (e.g. drone operator). Final clearance is called out as Cleared to engage after which the pilot is free to attack without JTAC’s clearing it further. Attack Types: BOC – Bombs on Coordinates – Usually used for preplanned targets BOT – Bombs on Target – Pilot can be given coordinates but has to visually acquire the target SHOF – Show of Force – Non-kinetic attack Munitions One of many rules of calling in supports is optimizing the usage of munitions. It means using the smallest possible munition that can still achieve the desired effect. In practice it means not dropping a GBU on every possible target because when you actually need it later you won’t have any left. Fighter to JTAC brief The aircraft crew informs the JTAC of: the number and type of aircraft, aircraft’s position, available air-to-ground armaments, playtime (how much time the aircraft can spend over the AO), other capabilities (targeting pods, other sensors, data links etc.), abort code. Example: Voodoo 2-1, this is Viper 5-1, 2 times A-10, GRID 421 brake 056, I have GBU12, Hydra, 1000 cannon, playtime is 20 mikes, abort code is: Avalanche, available for tasking, what do you have for us? JTAC to Fighter brief JTAC describes the situation on the ground in short. They talk about threats (AA, aircraft), friendly aircraft, enemy forces, friendly forces and artillery activity in the AO. Gameplan Gameplan is a report from the JTAC to the pilot. It is made after the check-ins and before the 6/9 - line. It includes: control Type (1, 2 ,3), attack type (BOC, BOT, SHOF), munitions requested. CAS 6-line / 9-line 6 and 9-lines are structured ways of relaying the characteristics of the fire mission to the aircraft. When both the person calling in the airstrikes and the pilot know the procedure well, it makes sure the right targets are engaged at the right time and in the proper way. This is the main part of the CAS mission. I go into more detail about both 6 and 9 lines as well as the entire CAS procedure in separate posts.
-
Call for fire is used to call in artillery fire support. It would often be called in by Forward observers but in Arma it will usually be an RTO or a JTAC. I will break down the report into lines, similar to how CAS requests are structured. CALL FOR FIRE (CFF) Prepare to receive call for fire 1. Observer’s position Adjust Fire 2. Target’s position: GRID, Altitude, Direction from observer OR Target’s position: Direction from observer, Distance from observer, Altitude 3. What the target is What the target is doing Number of elements Degree of protection Size (only if necessary) Munitions requested At my command Fire Fire Adjustments Fire adjustments: If the round hit left of the target, we call adjustment to the Right If the round hit right of the target, we call adjustment to the Left If the round hit in front of the target, we call Add If the round hit behind the target, we call Drop Values for adjustments can be: Direction (measured by observer) Left / Right + distance in meters (minimal correction 30m) Add / Drop + distance in meters (minimal correction 50m) Example Steelrain, Steelrain prepare to receive call for fire Steelrain copies Steelrain, this is Raptor at GRID 133 brake 124 adjust fire, over Adjust fire, out 020 at 800 meters altitude 50 meters, over 020 at 800 altitude 50, out Target is one HMG bunker with dismounts, fire 1 HE shell, over 1 times HE, out … Shot, over Shot, out Splash, over Splash, out Round hits Left 5 0 Drop 100, over Left 5 0 Drop 100 … Shot, over Shot, out Splash, over Splash, out Round hits Add 50, fire for effect, 5 rounds, over Add 5 0, fire for effect, 5 rounds, out This example shows 2 ranging shots being fired. When the observer calls out fire for effect, it lets the shooter know he’s zeroed in and he can fire the proper fire mission. In this example I added the number of rounds being fired because that’s the way it is usually done in Arma. Outside of Arma the procedure of course looks a little bit different. Bracketing When lacking the necessary equipment to precisely range a target for artillery, you need to get creative. An easy way is to use mil dots in your binoculars to calculate the range, but if you’re also lacking that equipment or skill, you will have to estimate range. After you’ve estimate the range, you start calling in ranging shots at the target. After you start the CFF you observe where the shots hit. Remember to stay hidden if you’re under fire and pick out only when you hear the artillery unit call out Splash. Chances are the shot will be short or long. Using that first shot you establish the first bracket by calling Drop/Add 400 (can be less or more depending on how bad/good your estimation skills are). Again chances are the next shots will fall short or long, hopefully if they went long last time, they go short this time and the other way around. This way you close the first bracket. If you’ve managed to create a bracket that encloses your target, you start creating smaller and smaller brackets by splitting the difference. So if you called Drop 400, next you will call Add 200. Then Drop 100 and finally Add 50. That is if you don’t hit the target by then. When you call Add 50, you might consider calling Fire for Effect without waiting for more ranging shots since it will probably be within the error margin anyways. Example In this example our friends at OP Alpha have spotted an enemy convoy stopped on the road. They are clumsy so the left all their batteries at base and lost their maps but still remember their GRID. They estimate range to target to be 700 meters. They call CFF. After some time the first rounds hit at point I. They can tell they fell short so they Add 400. Those go far in II, so they call Drop 200. After shells land in III, they call Add 100 and Fire for Effect hitting IV and destroying the enemy convoy. Now they can RTB and get screamed at by their senior NCOs for losing the gear.
-
[ArmA Event] Operation Fallen Comrade
=VG= The_Polish_Guy replied to =VG= The_Polish_Guy's topic in Arma III
Just one more slot needs to be taken and @kedican take the second Frog. We all know how bad he wants it. -
There are many standardized reports meant to make the communication process easier and more effective. They make sure that all of the necessary information is transmitted in a way that is understandable. SALUTE Size – size of the spotted element Activity – what is the contact doing Location – where has the contact been spotted Uniforms – contact uniforms or other identifying characteristics Time – when was the contact spotted Equipment – what equipment does the contact use SITREP Sitrep is used to report the general situation of an element to the other elements. It is conducted in these steps: Establish radio comms Our position and the distribution of our forces Short description of current actions of our element Short description of planned actions of our element What is needed (ammunition/medical supplies/etc.) SPOTREP Spotrep is used to report the enemy, your own plans and required support. It’s conducted in these steps: Establish radio comms Enemy position and description Your position and planned actions Required supports (if necessary/available)
-
Arma 3 Event Player count: 10 sign-ups [6 reserve] Fallen Comrade SATURDAY 14th MARCH 2026 - 1700hrs GMT (PRT) training session 1 hour earlier as per tradition (I'll think of something to do) Server name: VETERANS-GAMING | Fallen Comrade| TS3.VETERANS-GAMING.COM IP: 5.9.23.136:2402 Password: --- MAP: Isla Pera BACKGROUND: As Russian international position weakens another ally is struggling with internal issues. A military coup nearly decapitated the authoritarian government. Thanks to the loyalists, the rebels were pushed back to the jungle, but they aren't giving up. Attacks on military patrols and convoys in and around the jungle happen almost every day. It's just a matter of time rebels march for the presidential palace. Only an intervention can save the people in power. OBJECTIVE: Russia does not have many resources to use in a situation like this. The only asset capable of such mission is the FSBs Alpha Group. A strike team with a JTAC attached has been sent to clear out some of the jungle. MODS: req.htmlreq_opt.html [Alpha 1] Team Leader: Demolition Specialist: =VG= Sphee CLS: =VG= chickenjason JTAC: =VG= Polish Operator: =VG= Nyther Operator: MeatBaller [Alpha 2] Sniper: Pew_Pew Spotter: DangerDaily [Grom 1] SU-25 Pilot: =VG= keed [Grom 2] SU-25 (only if all A1 slots taken) Pilot: [Alpha 3] - reserve Team Leader: =VG= X0R Operator: Revox Operator: =VG= Connor Operator: kedi Operator: Operator: if enough people want to join, I'll add different kits for the reserve squad. There are no hard limits on player count, so if we have many more interested in joining, I'll change things around.
-
An RTO is responsible for configuring the communications of the element they’re part of. The best way to show what this is by showing an example. Let’s take a look at a battle group composed of infantry and some assets. We can already see a clear command structure. Overlord is the high command (usually zeus/mission maker). Godfather is the command element within the combat group. They command three squads of infantry of which one is mechanized and works with a Bradley callsign Hammer. We can also see three M1A2s commanded by Sword 1-1 and two JTACs linked with Godfather that manage air support from two Blackhawks and two F-16s. Every element is written down in this order: Callsign | SL, COC (chain of command) | Internal radio freq/asset. This visualization of the command structure serves to ease communication. As you can see there are six different long range radio channels. Without a couple RTOs this unit is not battle ready. This is one of many ways of creating what is sometimes called a tree. The most important rules are that it clearly shows the command structure, chain of command and communication channels.
-
The equipment that you will need depends on your task and the assets you have to complete it. In Arma it will also depend on what kind of mods you use. Map and navigation Map Compass Map Tools Map flashlight (dependent on ACE settings) GPS cTAB MicroDagr/Dagr Target designation: Colored smokes Vector 21 (or other rangefinders) Laser designator IR Grenades Chemlights Flares Colored Panels IR Strobes Grenade launcher with colored smokes, flares etc. Tracer rounds IR laser Comms: Short range radio Long range radio SATCOM antenna cTAB Keep in mind some of the equipment is mod dependent and might not be available to you at all times. As you can see there is a ton of equipment that can be useful in the field. And as you can probably imagine there is absolutely no way you can carry enough of everything. That’s why equipment optimalization is key when playing as RTO/JTAC. It is as important to fit your mission as it is to fit your terrain, time of day or equipment of friendlies and enemies.
-
Land navigation is a skill that every mil-sim player should possess. Without it you become absolutely useless the second you lose your GPS. Thankfully using a map, a compass, map tools and your brain is not that hard. I’ll cover the equipment necessary, how to read a map, how to lo Equipment For basic navigation you’ll need: Map Compass Map tools Additionally remember to bring a flashlight when operating at night. Map reading Maps in Arma are very accurate, that’s why it helps a lot to know how to read them. I will show an example of a map fragment from Altis to illustrate some of the basics. I am using the Enhanced Map Ace Version mod which makes maps a bit more realistic. Using this button we can switch between satellite view with topographic markings and clean topographic map. The latter is usually better for navigation because there’s less clutter on the map. Roads are marked with different colors depending on how big they are. Usually the brighter the color the bigger a road. Here we can see grey marking a relatively small road and yellow marking mor major road. Boxes with symbols in them mark certain structures. On this fragment we can see windmills on the west and a church in the town of Abdera. Additionally some smaller symbols show up like chapels by the roads and more importantly rocks in many places. Buildings like in this small town are marked with grey boxes resembling their real shape. Sometimes powerlines are marked on maps giving us yet another reference point to navigate by. These numbers mark the height above sea level. They are not hill numbers but only their height. Communicating by using the numbers as names of the hills can be misleading. Possibly the most important take away from this example the contour lines. Contour lines are all of the tiny brown lines that litter the entire map. They show us at what height above sea level a certain place is. On this map we can see that every interval is 5 meters in elevation which means every line is 5 meters above or below the line next to it. Additionally the slightly fatter lines are in this example 25 meters apart. In Arma the map is interactive, which means it will change the level of detail as you zoom in and out. That also applies to the contour lines. The distance between the lines will change abut it’s always shown in the bottom left corner. Because the vertical distance between every line is the same we can easily tell if a hill is steep or not. The closer the lines are to each other, the steeper the slope and the other way around, the further they are the slope is less steep. By learning to read contour lines we can easily not only orient ourselves in the terrain but also find suitable routes that give us enough cover. Contour lines are also drawn on water where they symbolize the depth. Of course there are many more symbols on maps, but I think they are pretty self-explanatory. Of course the green is trees and the blue is water. And in the middle of the fragment we can see a landing strip marked. Using the map tools Map tools can be found in the Tools section in the arsenal. You do not have to equip them in any specific slot, but only have them somewhere in your inventory. To open them on the map you use ACE self-interact (default: ctrl+win) while your map is open. You select Map Tools and then small or normal map tools. Those lines are used for measuring distance. They are exactly 1kmx1km no matter how much you zoom in or out the map. The line on the side of the tool is 3km long and is also used for measuring range. The circle in the middle of the tool is used for measuring azimuth on the map. The inner circle is marked with degrees and the outer with milliradians. By holding alt and left click you can rotate the tool to fit whatever you’re measuring. To drag the tool hold left click and move it around. And if you need to draw a line (ctrl+left click) on what you’re measuring the tool will make sure it is straight. Orienting the map To start creating a route we first need to know where we are. For that purpose we have to find a way to locate our position on the map. There are a couple ways of doing this: Landmarks – if we are next to a high tower next to a river, it will be easy to find a tower on the map and the river next to it. Then we just have to double check it with something else like terrain features and we’re good to go. Terrain association – this is a process of looking around, noting the terrain features (hills, rivers, buildings, etc.) and trying to find a place on the map that resembles it. Triangulation – for this you would have to see some landmarks. If you do you can measure an azimuth (using a compass) to each landmark and then draw a line on that azimuth from each landmark. The place where all three lines intersect is your position. If you have a rangefinder or some other way of measuring range, you can do this with only one land mark. You simply draw the line on the correct azimuth and measure how far away from the object you are. Then mark that position on the map. When trying to orient the map, altitude is your friend. The higher you are, generally, the more landmarks and terrain features you see. That allows for greater detail in locating your position. Planning a route I will not focus on the tactical planning of a route one should take to have the most advantageous position in case of a contact. I will show only how to move from point A to point B without getting lost. And for that there are two ways. In this situation I have to move south towards some position. The position is not clearly marked and has no real features so it might be easy to miss. The first way of doing this is to set an azimuth towards the target and start walking. This is generally the preferred method only if there are not landmarks to guide you. Using this method it is easy to deviate from the path, miss the objective and worse. The preferred way of doing things is finding waypoints that we know will be easily to locate if we can get in their general area. In this example I decided to head for a house with a driveway. It will be easy to locate even if I miss it by a 100 meters or more. Then almost directly south of the house is a ridgeline. I choose the highest point of the ridgeline as a waypoint because it will probably be visible from the house itself and even if not, it will be easy to find even once I’m on the ridge. From there I go almost straight south. This is where the issues start but thankfully the lowest point of the valley floor is clearly visible on the map. I go looking for that. Once I find that I follow the valley floor and it leads me straight to my objective. Most of the time setting waypoints will take time and the route will be longer, but it will save you from getting lost. Often when anticipating enemy contact you will move from landmark to land mark anyways because that might give you the best cover.
-
NATO/ICAO Phonetic Alphabet
=VG= The_Polish_Guy posted a blog entry in Tactics & Techniques for Arma
Single letters transmitted over radio can be misheard which on a battlefield can have dire consequences. That’s why for decades now armies have used certain words to be used instead of letters. The most common nowadays is the NATO/ICAO phonetic alphabet used by many militaries and civilian air transport. Symbol Code word English respelling A Alfa AL fah B Bravo BRAH voh C Charlie CHAR lee (or SHAR lee) D Delta DELL tah E Echo ECK oh F Foxtrot FOKS trot G Golf golf H Hotel ho TELL I India IN dee ah J Juliett JEW lee ETT K Kilo KEY loh L Lima LEE mah M Mike mike N November no VEM ber O Oscar OSS cah P Papa pah PAH Q Quebec keh BECK R Romeo ROW me oh S Sierra see AIR rah T Tango TANG go U Uniform YOU nee form (or OO nee form) V Victor VIK tah W Whiskey WISS key X Xray, x-ray ECKS ray Y Yankee YANG key Z Zulu ZOO loo -
An RTO (Radio Telephone Operator) is one of the most important roles in a unit. Without a radio the unit has no information. Without information a unit is useless. That’s why the RTO communicates with other elements. Most of the time it will be comms between squads, assets and the HQ but an RTO is often tasked with calling in supports such as artillery fire or coordinating helicopter transport and MED/CASEVACs. A JTAC (Joint Terminal Attack Controller) is often a part of a TACP (Tactical Air Control Party) responsible for controlling all air activity and air support in an AO. In Arma JTACs are usually attached to infantry squads and are responsible for guiding in CAS to support the ground element. JTACs are also capable of calling in artillery support, transport and MED/CASEVACs. The base knowledge of any RTOs or JTACs work should be how to take care of their radios as otherwise they are useless. In Arma it means knowing how to squeeze everything out of your radio by knowing every feature it has, but also knowing it’s limitations. For basic radio information check out the guide I made on it, but remember that skill comes with experience.
-
Infantry Formations - Part II
=VG= The_Polish_Guy posted a blog entry in Tactics & Techniques for Arma
This will be part two of infantry formations in open terrain. As the part I was focused more on strictly moving formations this time I'll touch on security formations and morphing between formations. 360 or Circular 360 or Circular formation is not a moving formation like the ones mentioned before. It is used when taking a break or a defensive position. It does not have to be a perfect circle, but every direction should be covered. The safest way to create a 360 is to stay next to cover. It is easy in a forest but can be a challenge in open terrain. The squad leader will often say something along the lines of Create 360 around me. That’s why he will often be in the middle of the formation giving him the safety he might need to plan the route, communicate with another element etc. In other situation the squad leader can command the squad to create 360 around a terrain feature, building or a vehicle. One of the most common uses of 360 is covering an LZ right after dismounting from a helicopter or right before boarding it. 180 or Semi-Circular 180 or Semi-Circular formation works in the same way as 360, but can be used when we know one side is safe like next to a natural feature providing cover, after moving through a gate formation or after dismounting from a helicopter with a rear ramp like the Chinook. 2 and 4 Man Gates Gates exist to allow a column to cross a road with both directions of the road covered. The 2 man gate is created by two members of the formation who previous to encountering the road run ahead and set up on it as shown on the image. Then the rest of the column runs through the created gate with the last man hopefully saying Last man to let the gate know when to collapse. After crossing the road the column runs to the nearest concealment (usually a forest) and either creates a 180 and waits for the gate or continues making the gate catch up by sprinting. The 4 man gate works exactly the same but uses 4 members of the squad to cover the road. It is imperative to conduct this maneuver smoothly and stay exposed to the road as little as possible. An alternative to this is just sprinting through the road previously checking if it’s clear, but it has its own risks. Morphing Formations Morphing or transforming a formation means changing it into a different one. With practice formations can be morphed on the move with ease. Column to Line Column to Wedge Column to Staggered Column Understanding what formations should look like is only one part of the problem. The most important knowledge comes with time using them. Experience lets us understand better what our role in the formation is and what to do in certain events that might be hard to anticipate otherwise. Speed in formations One thing that people struggle with in Arma is keeping a consistent speed to not run into each other. That's why everyone in the formation should know of all the speeds of movement in the game. There are four main speeds: Walking [ctrl + C] Jogging with weapon up [2x C] Jogging [default speed] Sprinting [shift] All of those have their advantages and disadvantages obviously. In every situation there is also the option to lower your weapon [2x Ctrl]. It is the squad leader's job to set the speed of their formation. If they don't do it, it's up to the point man. If neither do it and the people in formation aren't experienced enough to adjust their speed on the go, the formation will either fall apart or be ineffective in watching some sectors. -
Infantry Formations - Part I
=VG= The_Polish_Guy posted a blog entry in Tactics & Techniques for Arma
Formations are ways to move as a unit through terrain. They are meant to maximize the element’s effectiveness. Below I’ll describe a few of them and when they should be used. Additionally they will be illustrated using Arma 3 role icons and a basic infantry squad structure. Column The most basic infantry formation is the column. While being arguably the most used formation it is also very flexible to the environment’s challenges. Basic Column This formation should be used in situations in which we do not expect enemy contact but are simply walking from point A to B. Additionally it can be used while moving through a potentially mined terrain, to minimize the risk of multiple people stepping on a mine. The basic column should be composed similarly to what you can see on the image. automatic rifleman leads the formation because it has the most firepower. Close behind follows a team leader if there is one to help navigate the terrain. Squad leader and CLS/medic stay towards the back of the formation but still inside of it. The column is closed by an anti-tank specialist or a similar role. The first person in the formation covers the direction of movement and the last person covers the rear. Everyone in the middle watches either left or right. The point-man should be a trust worthy member of the squad, since it’s their job to navigate the entire formation. They have to make decisions about slight adjustments to the direction of movement or stopping the formation. Always remember to keep spacing between each person in the formation. There is no set distance but as a rule it shouldn’t be less than 2 meters. Column With EOD Threat When we expect to run into IEDs or mines it is important to let the EOD specialist lead the formation. If the squad does not have an EOD specialist, a rifleman looking at the ground will have to do. No matter who is leading the formation in this scenario, it’s wise to keep a greater distance to them in case of an explosion. Column With Probe In some situations we want to send a probe to scout ahead of the formation to avoid walking straight into danger. In that case it’s usually a good idea to send out a marksman or a similar role about 50-100 meters ahead. If possible make sure the probe has a way of communicating with the rest of the formation. Line The line is a formation used mainly for assaults and searching an open terrain. All members of the squad will be watching looking in the same direction, so it is only advisable when moving towards a well scouted target as the formation is very exposed around the flanks. The most left and right members can also look slightly to the sides to limit the tunnel vision of the entire formation. The medic can follow the formation to stay out of harm’s way and see if anyone needs help. It is important to remember though that it is clear to any enemy that the single person in the back of the formation is important. This can lead to the medic being a primary target to snipers or marksmen. For that reason some squad leaders opt to incorporate the medic into the line. Spacing in the line is as important as in any other formation. It should guarantee less casualties in case of an explosion but in a forward facing formation it also allows for better coverage of the target area. Wedge / Sergeant The wedge is designed for a similar purpose as the line, moving towards a target. Unlike the line tough it is not as susceptible to flanking fires as each member of the formation covers increasingly steep angles to the sides. This leads to less tunnel vision but decreases the front facing firepower of the formation. The medic in a wedge is the same dilemma as in a line formation. Echelon Right and Left Echelon can be explained as half of a wedge. It can be deployed to the right or left of the point-man. It should be employed in a similar way to the wedge but only when we do not expect any contacts from the side that is not being covered. One scenario when we can use an echelon is when we are moving along hard cover or a natural feature that makes it impossible for the enemy to appear on that side. Staggered Column / Chess Board A staggered column works very similar to a regular column but employs two alternating columns instead of one. It should be used for moving along roads. Deploying an EOD specialist or a probe can work the same as in a regular column. Additionally this formation can be employed when moving together with a vehicle. Staggered column is often wrongly associated with a double column. A double column are two columns walking along each other. They are not alternating like a staggered column. -
Basics of Fire and Maneuver
=VG= The_Polish_Guy posted a blog entry in Tactics & Techniques for Arma
Those two words are the foundation of infantry tactics. They can be explained with a short saying. Fire without maneuver is a waste of ammo. Maneuver without fire is a waste of lives. When facing an enemy force, maneuvers can only be made with supporting fire and only by maneuvers can the enemy be decisively defeated. This simple rule has influenced tactical decisions for centuries. Usually the implementation of this rule is carried out by having a Fire Element and a Maneuver Element. Depending on the size of the operation those elements can be anything from section/fire team size to company/battalion size. Example: In this hypothetical scenario two friendly infantry squads face off against an enemy. Both forces have some light cover/concealment helping them defend their positions (marked with approximate black lines). The BLUFOR units are tasked with defeating the enemy unit. Additionally for the purpose of the example, any flanking maneuvers are not possible. The leader of the BLUFOR has a choice. They could send both squads to assault the enemy position and hope the numerical superiority will be enough or select one squad [M] to be the maneuver element and the other [F] to provide fire support. In that case the attack will look like something like this: Both elements or just the fire element will suppress the enemy. Making it impossible for them to reposition or return effective fire. After establishing fire superiority, the maneuver element will move forward with the fire element still suppressing the enemy. After getting to the enemy position the maneuver element will secure it and communicate the fact to the fire element which will move up to the captured position to secure it against a counter attack. The role of fire elements can be fulfilled by a lot of different assets. It can be a weapons/rifle squad, a machinegun crew, artillery or vehicles. What is important to remember is that infantry is always the main force securing a position. Any other assets are to support it. Of course the example above is of a very simplified nature. What is important to take away from it is just the base idea of fire & maneuver. It is the base for everything from small unit movement to large coordinated assaults. That's why understanding it allows achieving a better tactical decision making skills.